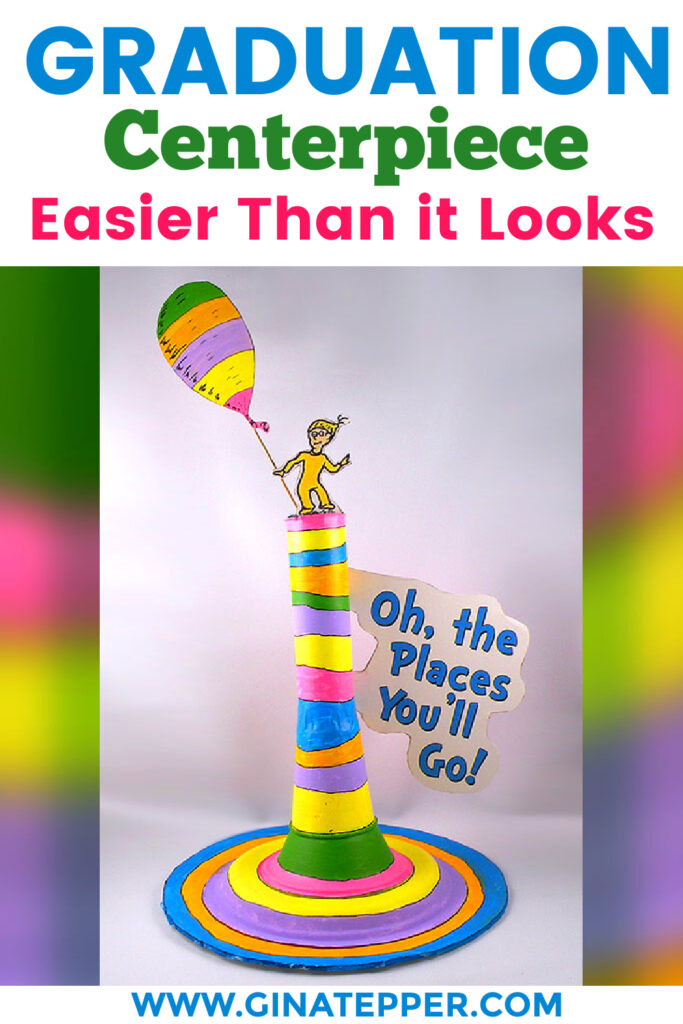
Create an Oh, The Places You’ll Go Decoration (Step-by-Step Tutorial)

DIY Oh The Places You’ll Go Decoration Ideas
Learn how to make a Dr. Seuss, Oh the Places You’ll Go decoration using things you may already have around your house! I love Dr. Seuss and his books. This book, Oh, the Places You’ll Go was the last book he had published and it is a great inspirational story for anyone embarking on a new life journey.
This Dr. Seuss crafts DIY Oh the Places You’ll Go decoration idea would be great for a graduation party, retirement, child’s room, classroom or just for fun! You can even use it for party decorations for a child’s first birthday.
Scroll down after the instructions for see how I made eight of my Cheap Dr. Seuss Graduation Centerpieces for a Graduation Party!
Please Subscribe to my YouTube Channel
I upload new DIY videos every week!
Click here to watch my video on how to make an Oh the Places You’ll Go Decoration!
Click here to download the Oh, the Places You’ll Go Printout PDF – Oh The Places You’ll Go Text
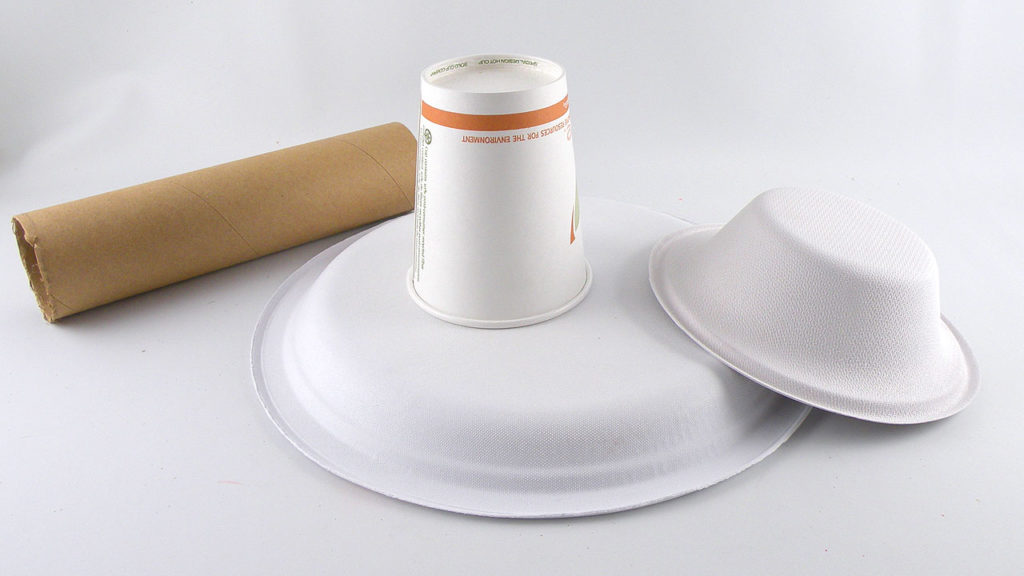
Materials to make the Oh the Places You’ll Go Decoration
For the foundation of the Oh the Places You’ll Go Centerpiece, I used household items. A wrapping paper tube, paper plate, paper bowl, and a paper cup.
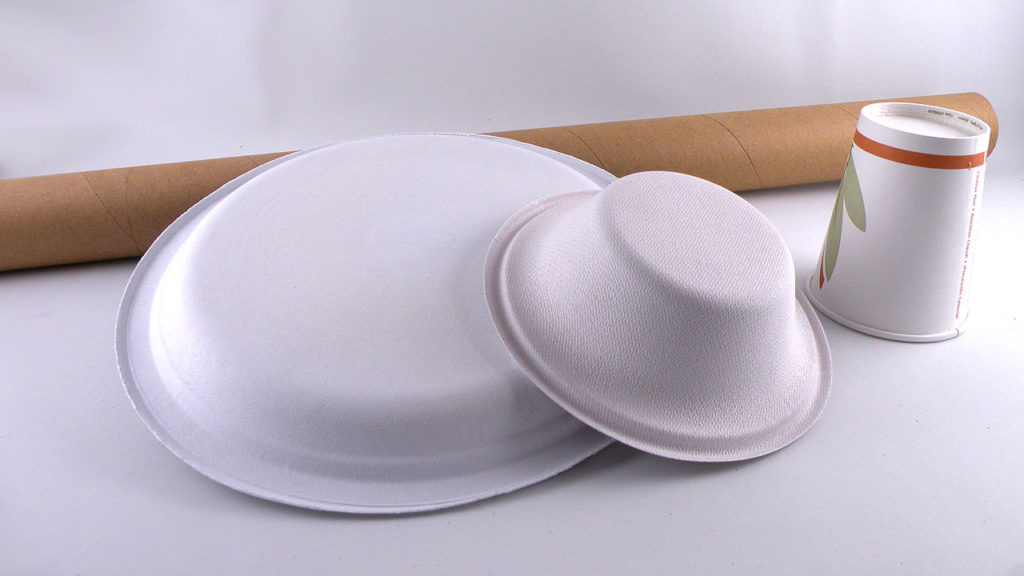
- Large Round Sturdy Paper Plate
- Paper/Plastic Disposable Bowl
- Paper Towel Roll
- Tissue Paper
- Skewers
- Print Oh The Places You’ll Go Text PDF
- White Cardstock
- White Foam Board
- Cardboard
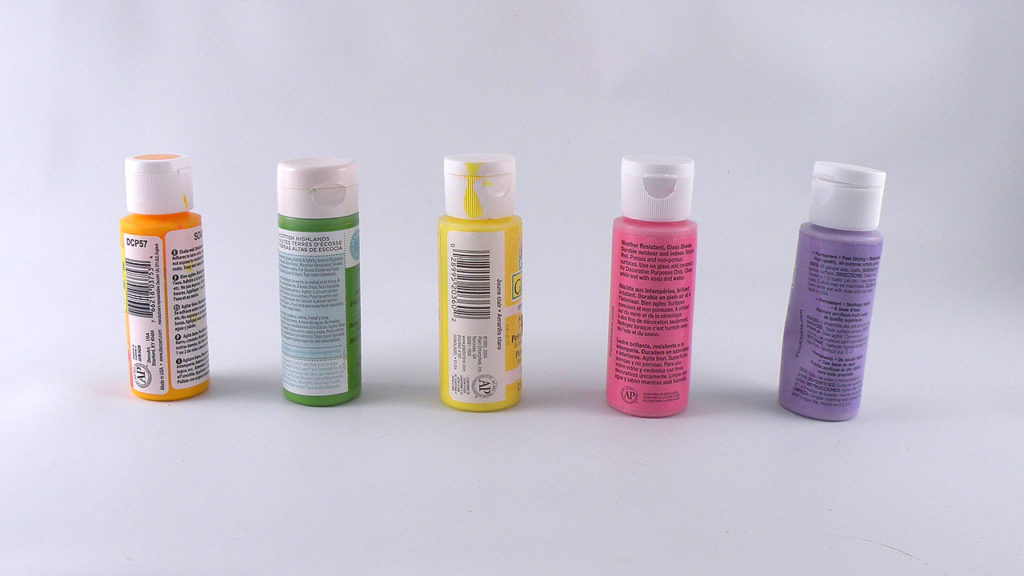
- Acrylic Paint (Pink, Yellow, Blue, Purple and Green)
- Black Marker
- Hot Glue Gun
My Favorite Tools
Amazon Associates Disclosure
www.GinaTepper.com is a participant in the Amazon Services LLC Associates Program, an affiliate advertising program designed to provide a means for sites to earn advertising fees by advertising and linking to Amazon.com.
How to Make Oh the Places You’ll Go Decoration
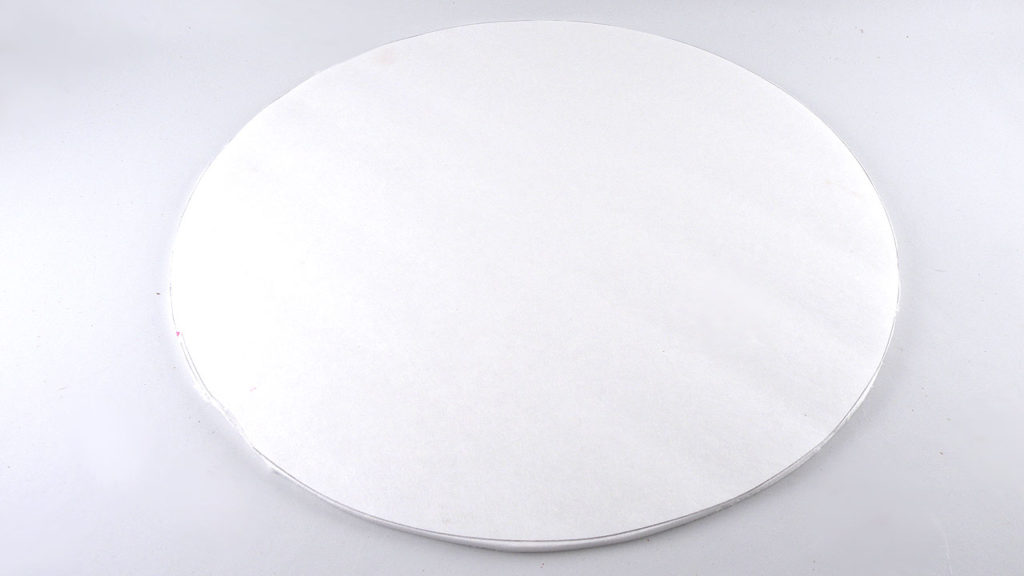
- Cut a large circle of foam board 2″ larger than the paper plate.
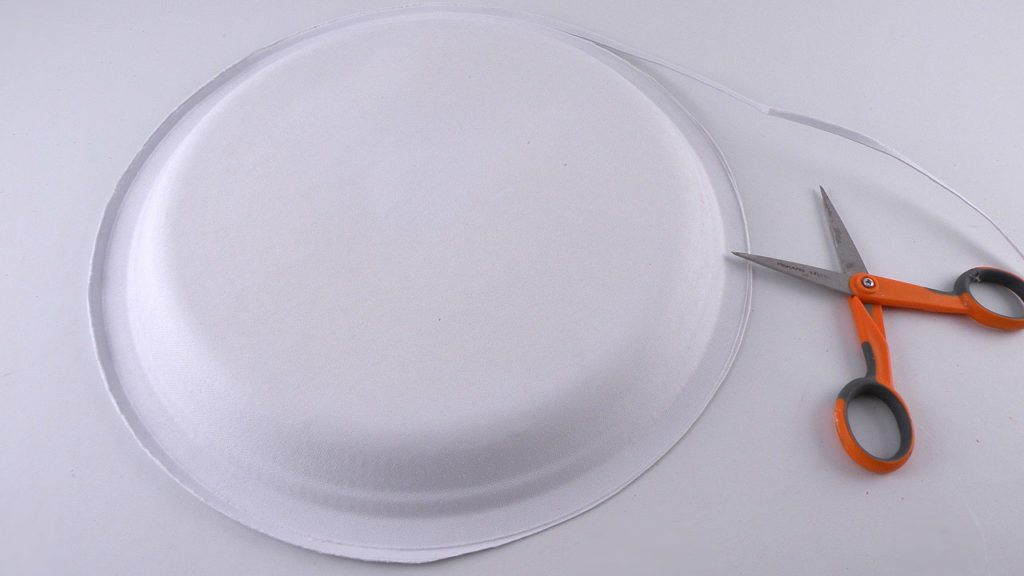
- Trim the edge of the paper plate so it lies flat.
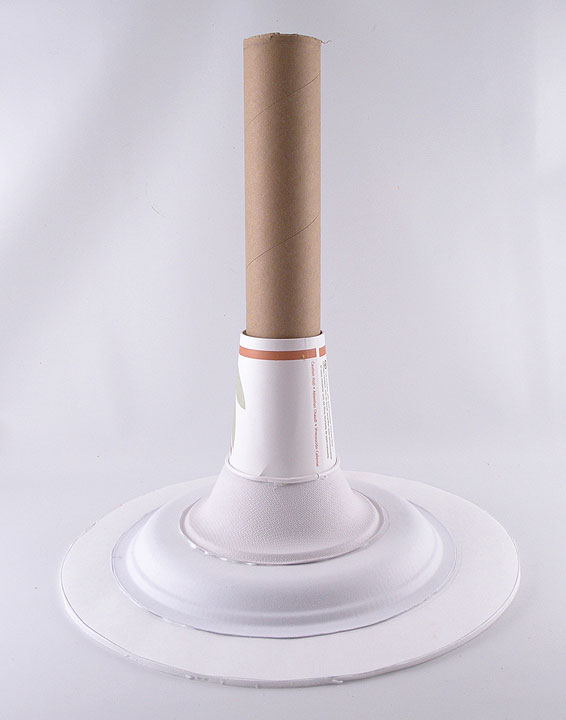
- Stack the foam board circle, the paper plate, paper bowl, paper cup and paper tube.
- Attach them with a hot glue gun.
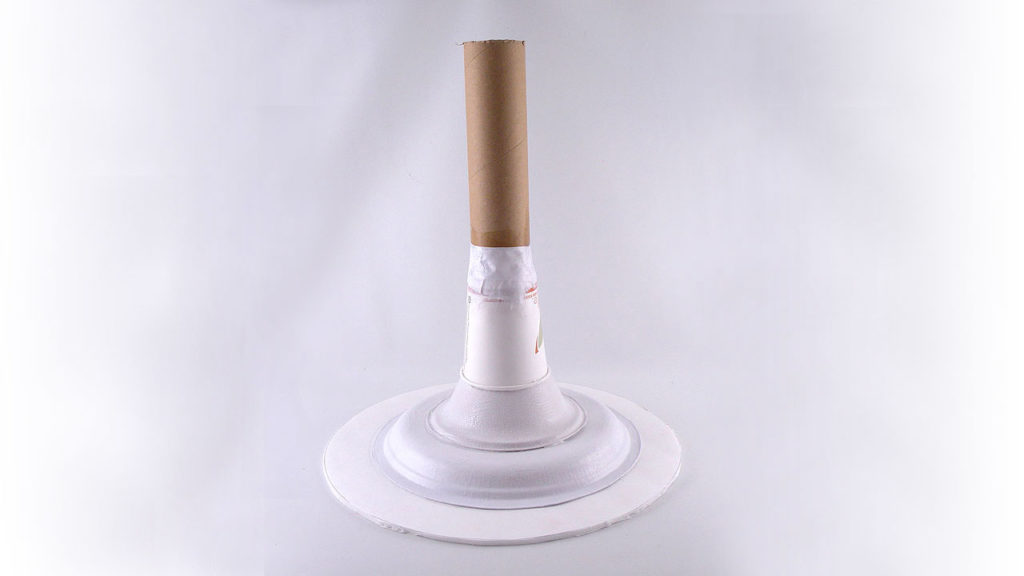
- Glue strips of tissue paper around the edge where the top of the cup and the tube connected to smooth out the ridge.
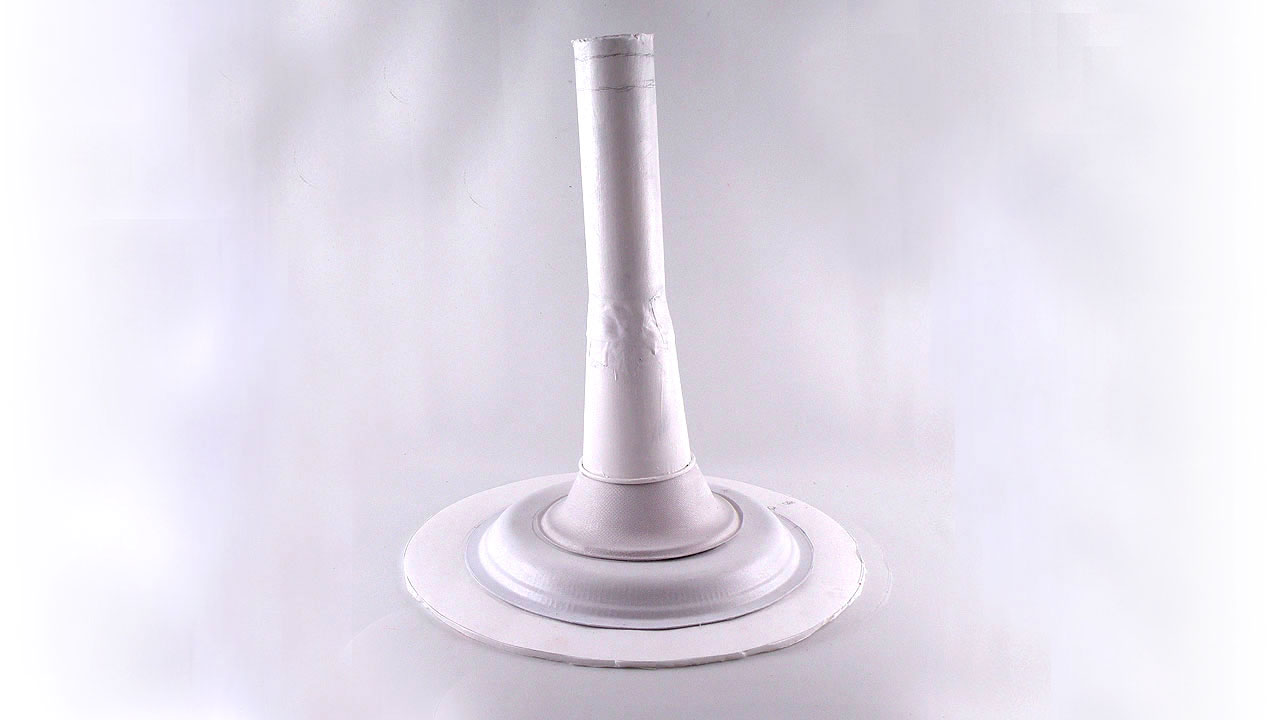
- Paint the cup white so the entire structure is white.
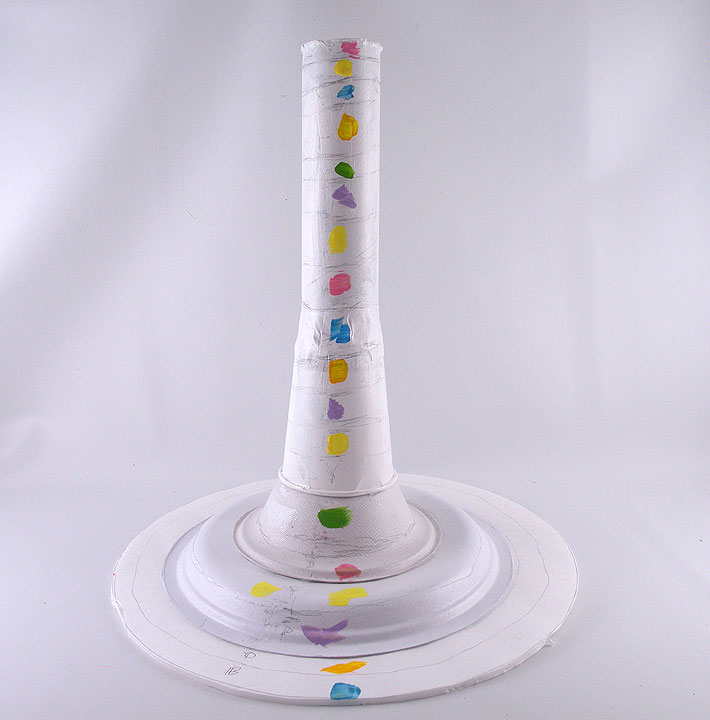
- Draw rings around the plate and tube to show where the bands of color are going to paint.
- Mark each ring with the color that is going to be used to make it easier to paint.
- The color order from the bottom is Blue, Orange, Purple, Yellow, Pink and green. Then repeat them to the top of the tube.
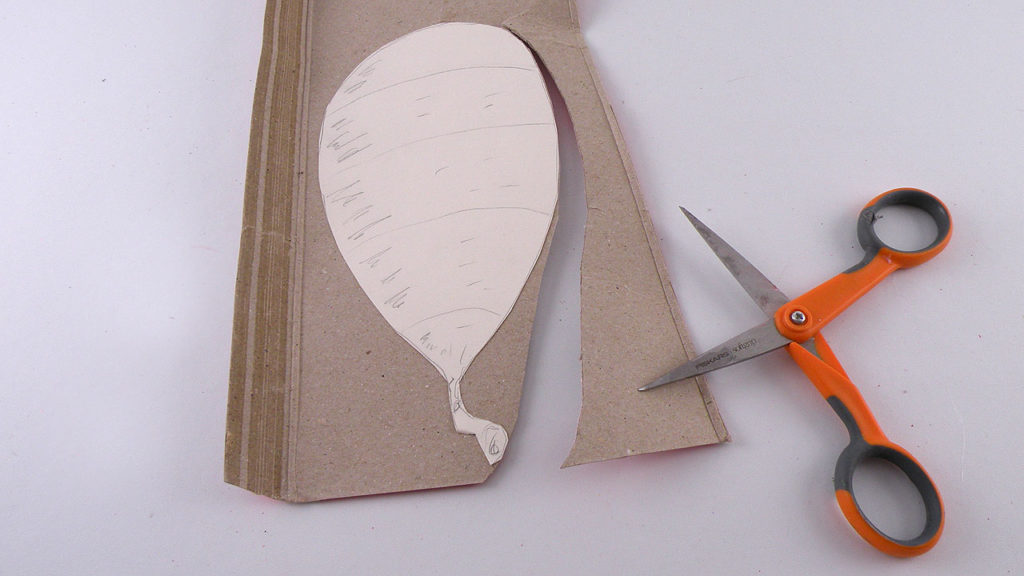
- Draw an Oh the Places You’ll Go Balloon on cardstock and glue it to a thin piece of cardboard.
- Cut the balloon shape.
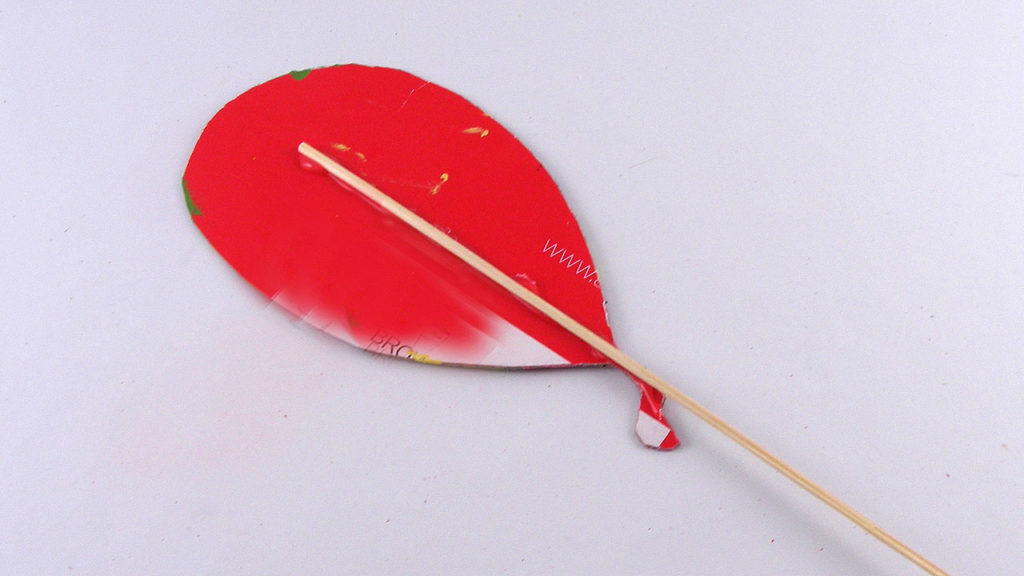
- Glue the back of the balloon to a skewer.
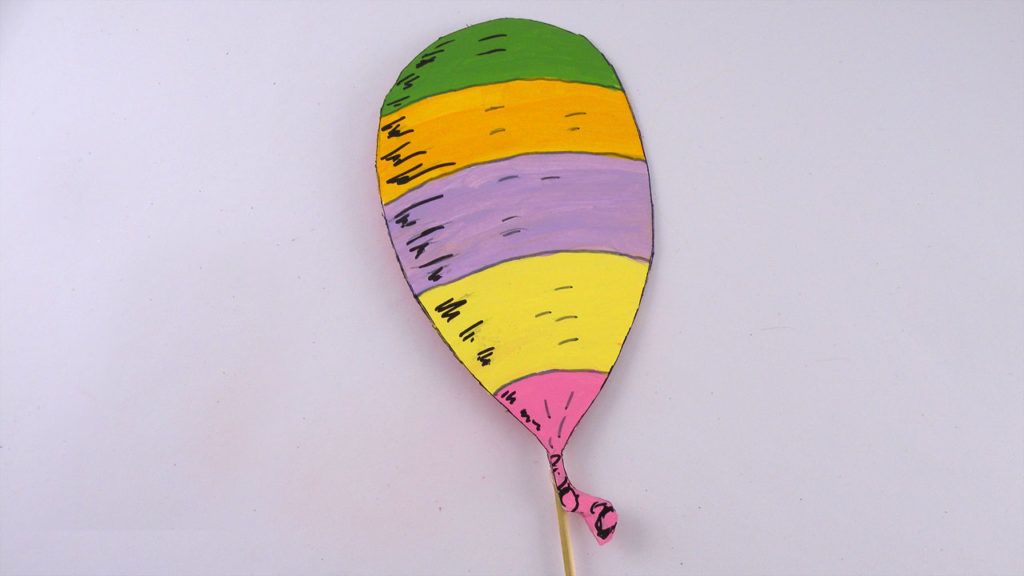
- Paint the bands of color on the balloon and draw the accents with a black marker.
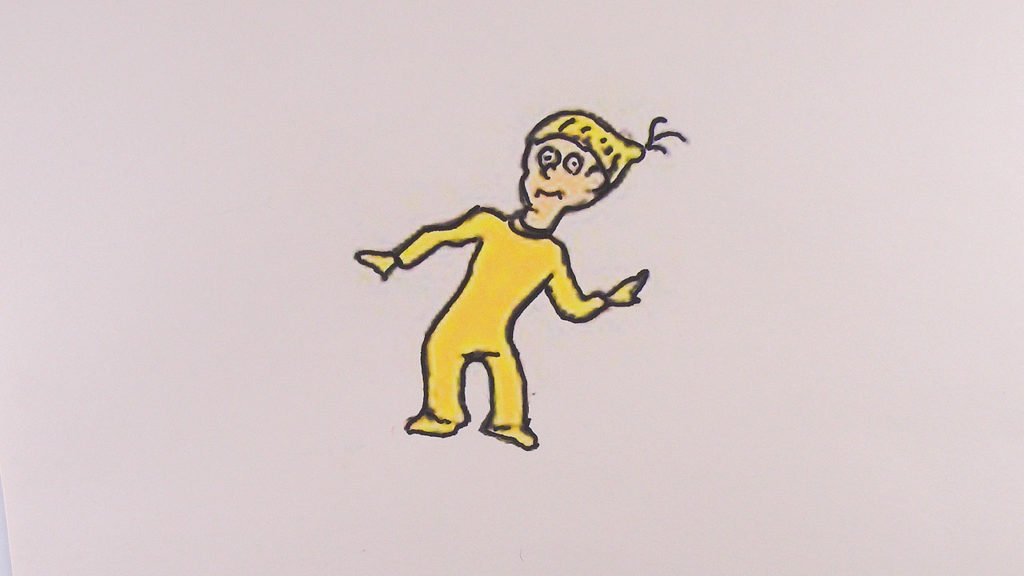
- Find a clip art of the little person and print it out.
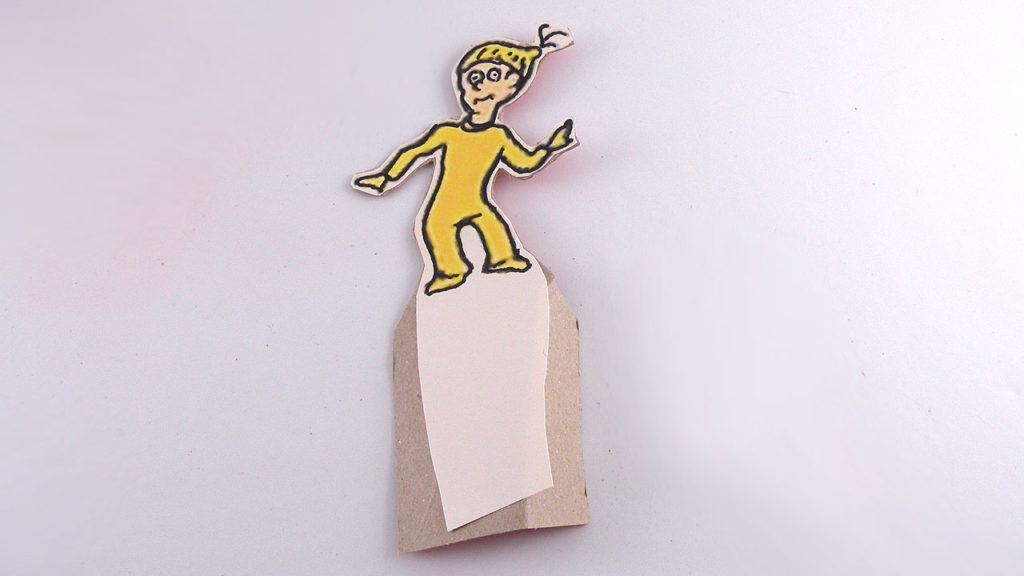
- Glue the person onto cardboard and cut out leaving a long piece at the bottle that will be put into the tube.
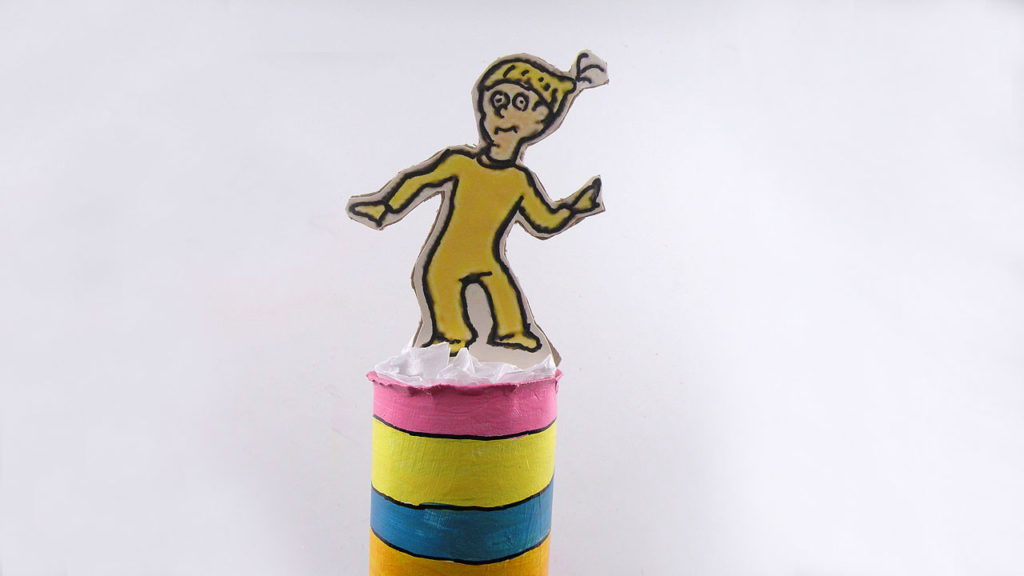
- Put tissue into the tube and insert the cardboard with the little person so it is sticking out like he is standing on the top.
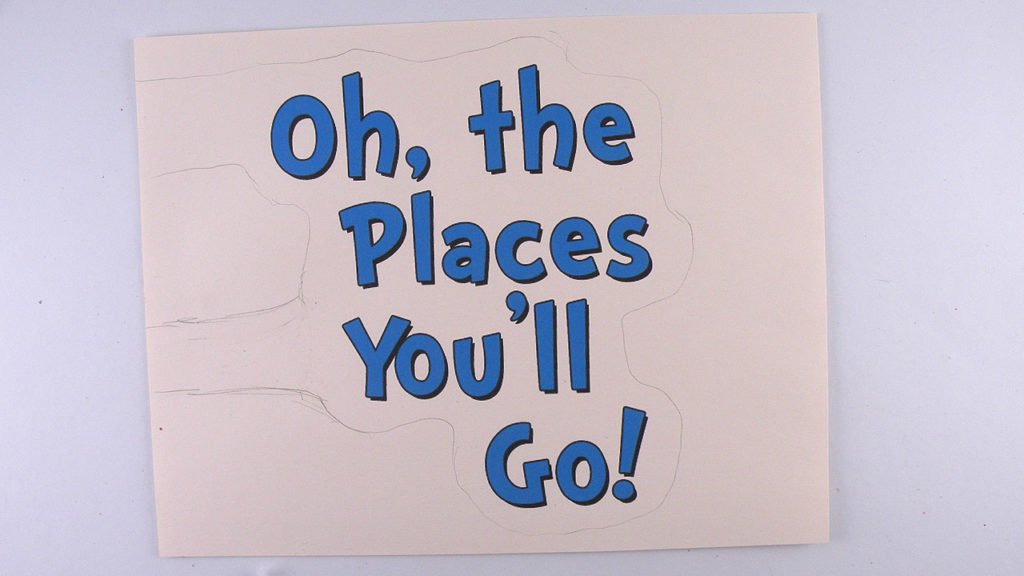
- Print Oh The Places You’ll Go Text on to cardstock.
- Draw an outline around the text as shown above.
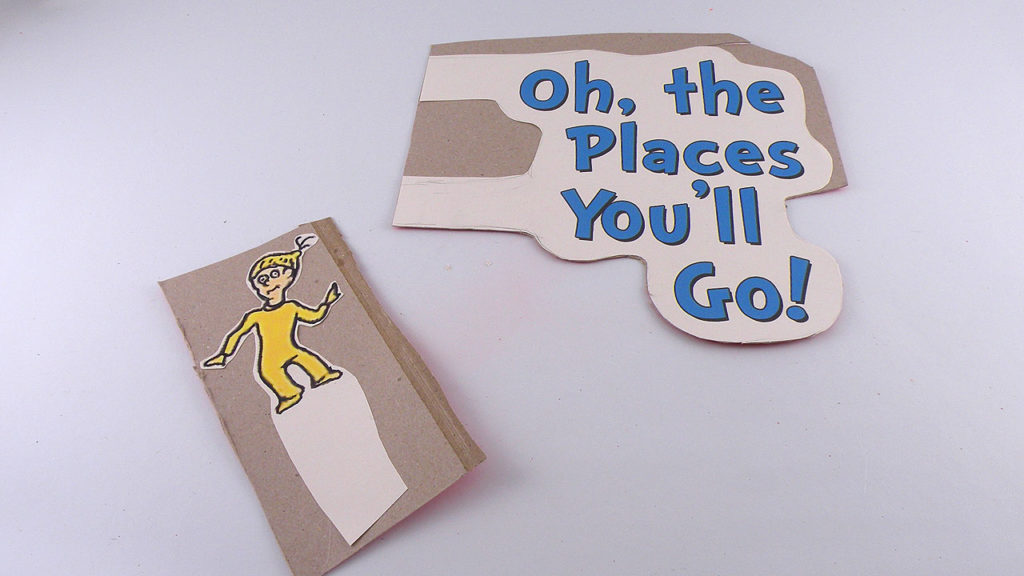
- Glue onto thin cardboard and cut out the drawn shape.
- Glue Oh the Places You’ll Go Text to the decoration and glue the skewer into the tube.
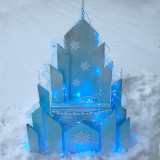
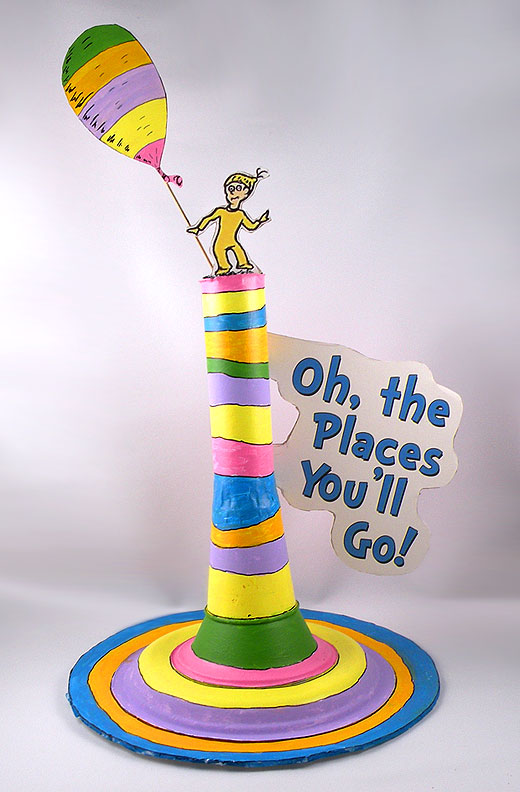
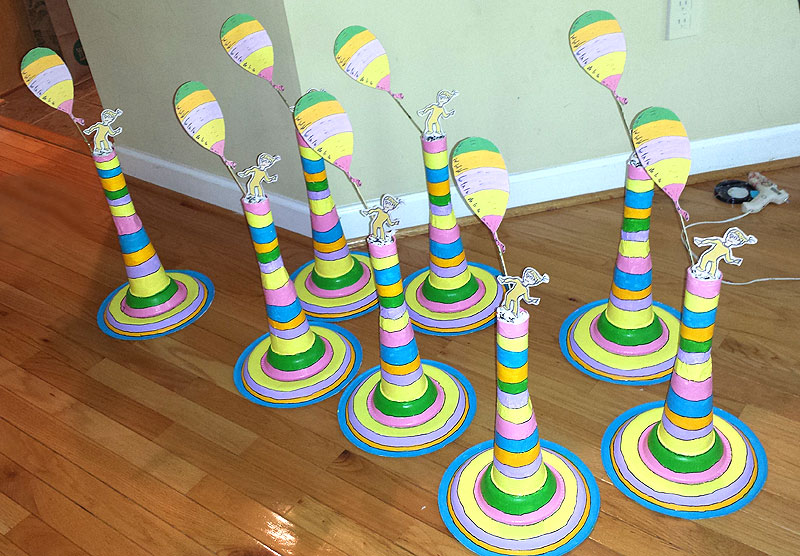
Now you have an Oh the Places You’ll Go party theme decoration perfect for graduation for any age, retirement or a birthday party!
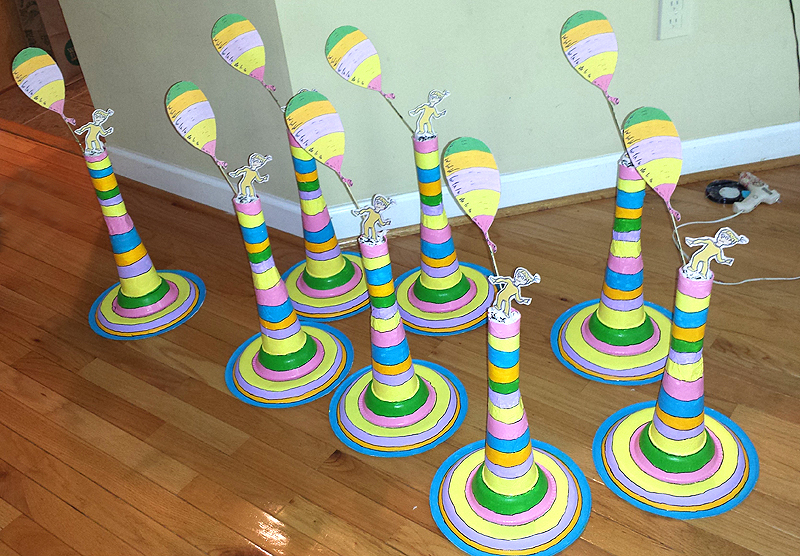
Here are eight Oh the Places You’ll Go Centerpieces I made for a graduation party.
Here is the step-by-step process to make these graduation centerpieces.
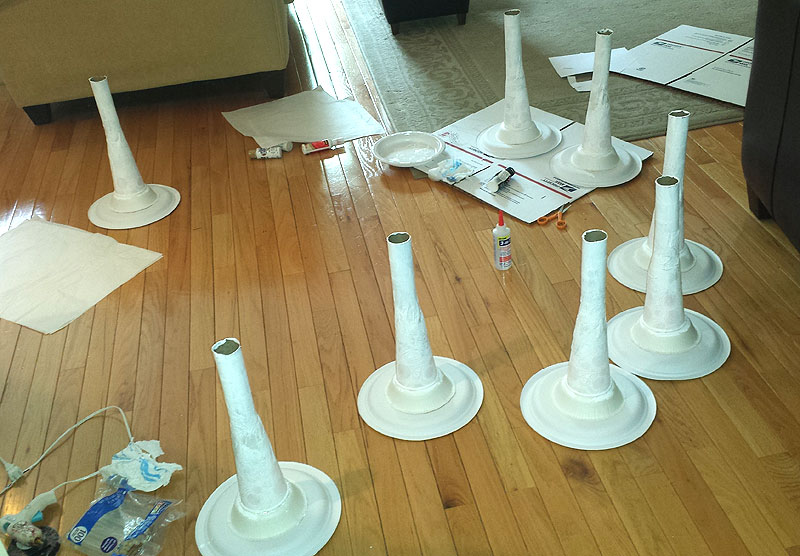
I first built the design by gluing all the stacked pieces together with a hot glue gun. I then covered seam where the paper cup meets the paper tube with tissue paper. I then painted them white.
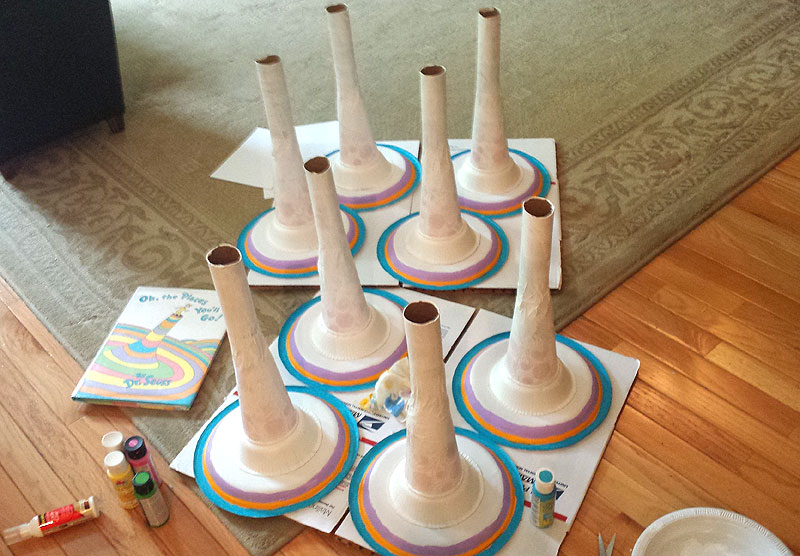
Using the book for reference, I drew the circles of where the different colored paints should be and how thick they were. I then began painting the colorful rings.
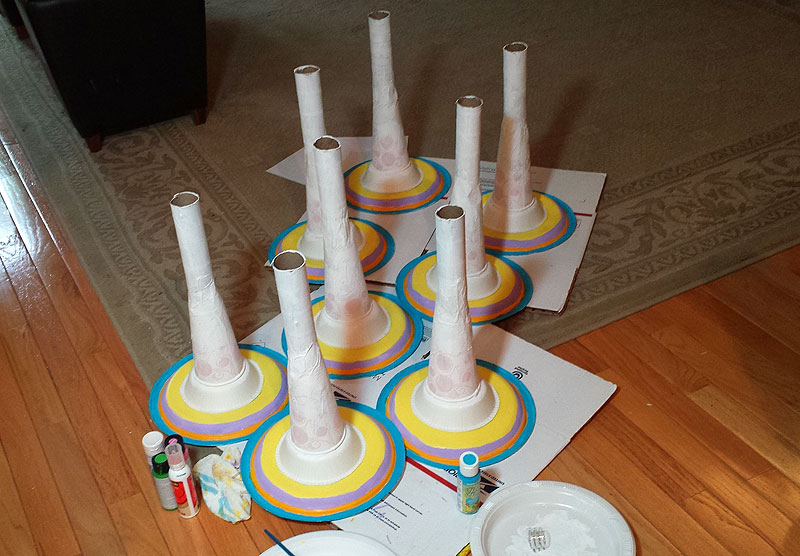
I continued to paint the rings until the entire structure was covered.
I drew a black line around each ring to separate the colors and glued the little guy and balloon to the design. These graduation centerpieces looked great on the tables at the graduation party and people loved them!