How to Wrap a Gift With Tissue Paper (Eco-Friendly Gift Wrap Ideas)
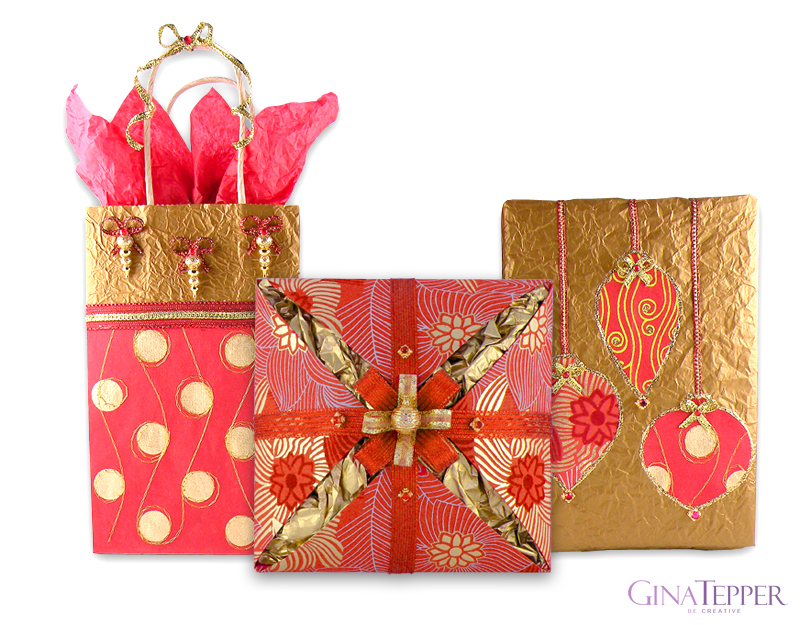 Here is how to wrap a gift with tissue paper for stunning and eco-friendly gift wrap ideas. Some of the most beautiful gift wrap and gift bags I created by reusing tissue paper and wrapping paper pieces.
I used to wrap all of my gifts with fancy new paper until I thought about how much of the wrapping paper and ribbons ended up in the trash. I made more eco-friendly gift wrap decisions by reusing materials to wrap gifts, making decorated gift bags or boxes that could be used again, and reusing wrapping paper, ribbon, and tissue paper when possible. When I use new wrapping paper, I decorate the gifts with beautiful flowers or ornaments so the accents could be saved as part of the gift.
Here are some of my tips for wrapping gifts with tissue paper and how to wrap the gift without tape. While gifts wrapped in tissue paper look beautiful, they are not very forgiving when readjusting the paper. It is very easy to tear the paper. This is how to wrap a gift without tape, use craft glue instead so it will be easier to reposition without ripping the tissue paper.
Here is another one of designs where I show how to wrap a gift box with tissue paper. The crinkled metallic tissue paper gives almost a hammered look. Added metallic ribbon and accents makes a beautiful and elegant gift wrap. Click here to learn how to wrap a gift box with tissue paper.
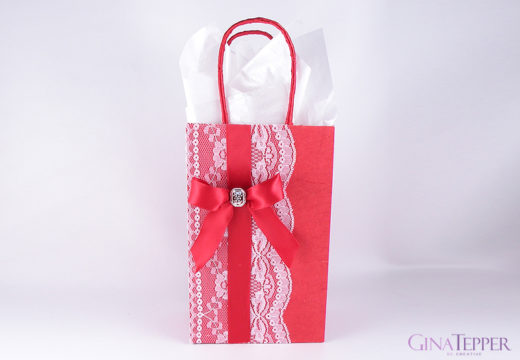
How to Decorate a Gift Bag with Tissue Paper
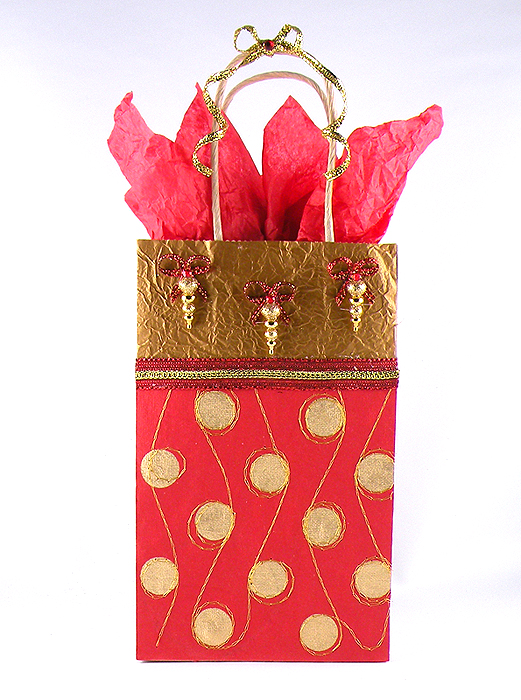
It’s easy to decorate a gift bag with pieces of wrapping paper, reused tissue paper and recycled ribbon scraps. The only items are are not reused are the paper gift bag and the mini ornaments. The decorated gift bag bag cost less than a dollar to create but looks like an expensive custom made piece from a fancy paper store.
Difficulty – Easy
Materials
- Gold gift bag with stiff handles (plain gift bags are inexpensive and easy to find at the local craft or party store)
- 1 sheet of gold tissue paper (for the front of the bag)
- 2 sheets of red tissue paper (for the filler)
- 3 long gold mini ornaments
- A piece of wrapping paper large enough to fit 2/3 the length the entire width of the gift bag
- Ribbon pieces in three different colors (small pieces of ribbon can be saved from gifts and reused)
Instructions on How to Decorate a Gift Bag
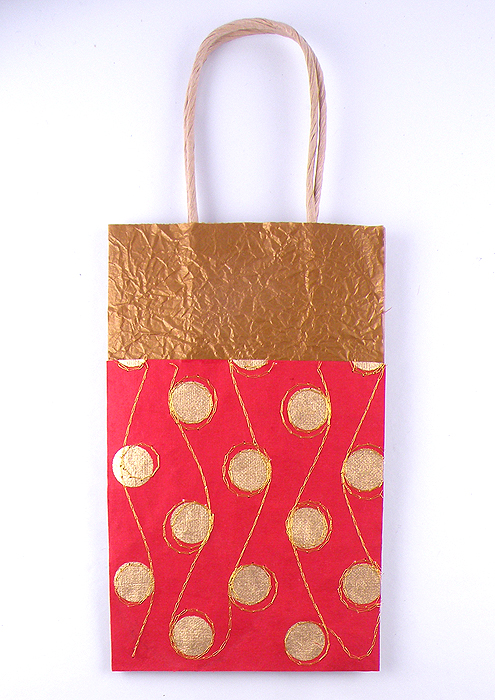
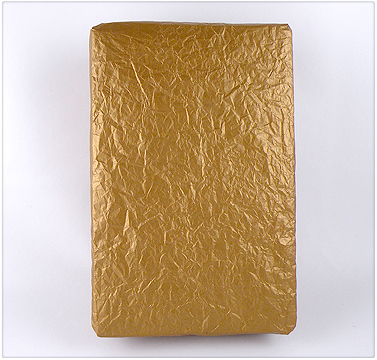
- Crumple a piece of gold tissue paper into a ball and smooth it out so it has a uniform wrinkled look.
- Cut the tissue the entire size of the front of the gift bag and attach using craft glue.
- Cut a piece of wrapping paper 2/3 the length and the entire width of the gift bag.
- Glue the wrapping paper to the bottom part of the gift bag with craft glue as shown below.
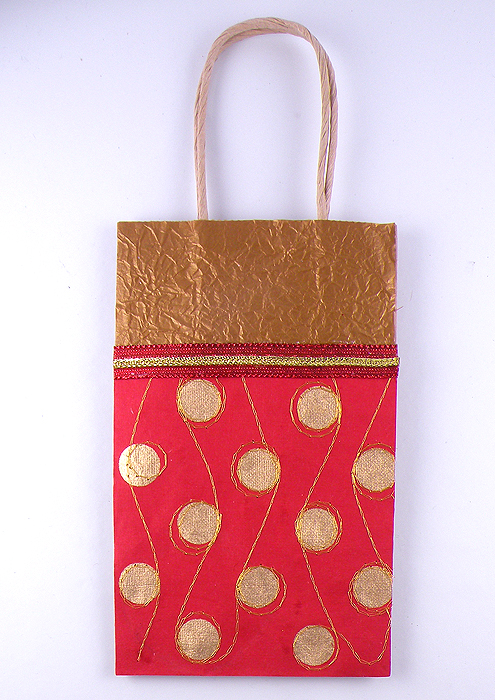
- Cut a piece of each of the two colors of ribbon the entire width of the front of the gift bag.
- Glue them to the front of the gift bag, centered over the edge of the wrapping paper.
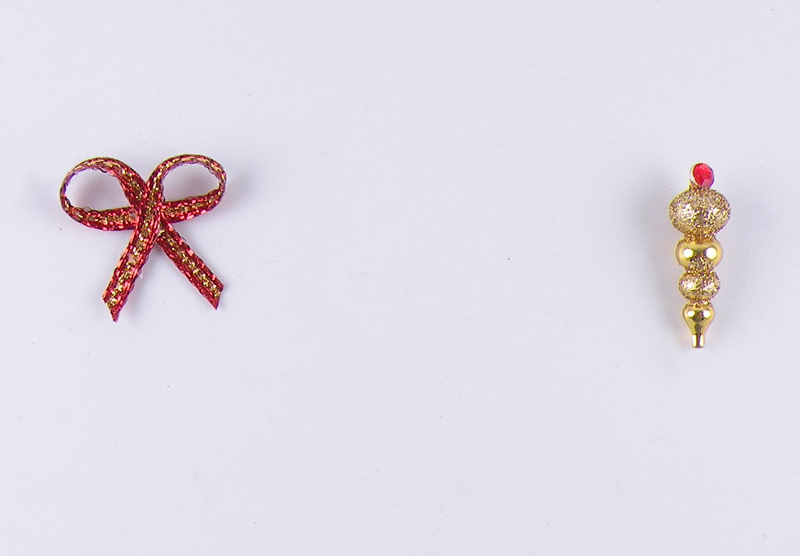
- Cut a small piece of ribbon and loop it onto itself to create a small bow gluing where the loops overlap to secure them in place. Make three.
- Glue the bows to the gold wrinkle part of the gift bag and glue an ornament directly beneath it as shown below.
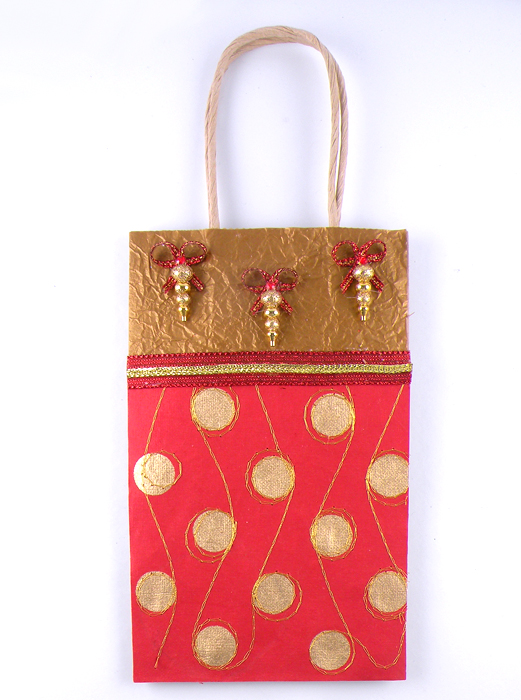
- Crumple two sheets of the used red tissue paper and smooth it out to give it a uniform wrinkled look. Place in the bag with the pointed ends of the tissue coming out of the bag. Tie a bow at the top of the front handle with a piece of ribbon and have the tails drape down.

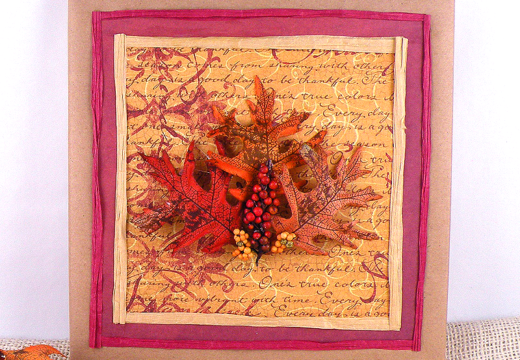
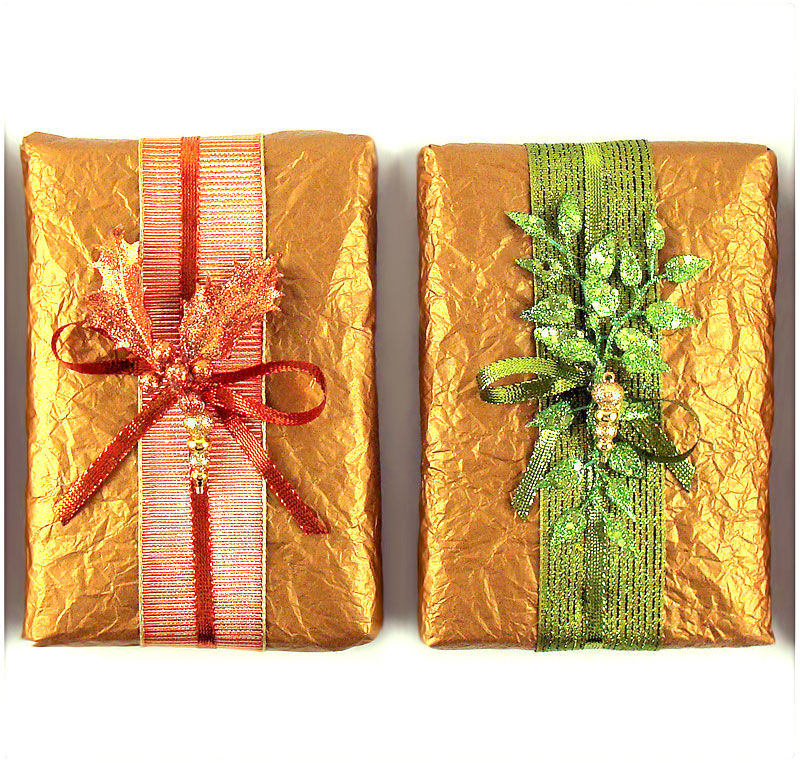
Wrap a Gift Box With Tissue Paper

This entire design was created with reused tissue and ribbon and pieces of wrapping paper from last year. The new item were was glitter glue. One tube of glitter glue can be used to accent dozens of gifts.
Difficulty – Medium
Materials
- 1 or 2 sheets of used gold tissue paper
- 3 different scraps of leftover or reused wrapping a paper
- Small pieces of leftover or reused ribbon
- Rhinestones or beads whatever you have on hand
- Gold glitter glue
How to Wrap a Gift With Tissue Paper
- Wrap a gift in single or double layered tissue paper (if the paper is thin) that has been crumpled into a ball and smoothed out into so it has a uniform wrinkled look.
- Cut out ornament shapes from small pieces of reused wrapping paper and attach them to the box with craft glue.
- Cut three small pieces of ribbon the length from the top of the box to the each of the ornament shapes and attach them to the box with craft glue.
- Draw an outline around each ornament shape with glitter glue and let dry.
- Cut three small pieces of ribbon and loop it onto itself to create three small bows. Use craft glue where the loops meet to secure them in place.
- Attach each of the bows to the top part of each of the ornaments with craft glue. Add a bead or rhinestone to the center of each of the bows and to the bottom point of each of the ornament shapes.how to make a pyramid gift box
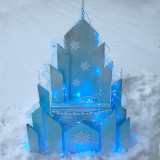
How to Make a Pyramid Gift Box
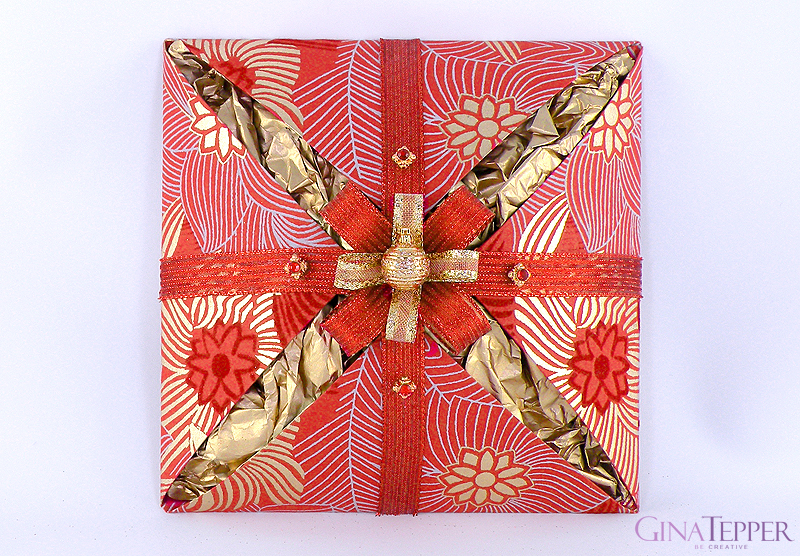
This pyramid gift box can be made entirely from reused tissue and ribbon and a small piece of gift wrap. This gift will definitely receive a positive response because of its creative and unique appearance. This design can be made large or small to hold a CD, gift card or smaller item.
Difficulty – Medium
Materials
- 12″ x 12″ piece wrapping paper
- 1 or two sheets of gold tissue paper
- Small pieces of ribbon
- Rhinestones or beads whatever you have on hand
- Small used ornament or accent
Instructions
- Follow the instruction for the present pyramid for the Going Green Present Pyramid design.
- Use ribbon instead to paper strips to accent the inside of the design.
- Fill the pyramid with crumbled tissue to achieve this look.
- Decorate the top of the pyramid with ribbon instead of paper strips and add bead accents as shown above.