DIY Graduation Cap Card Holder (Step-by-Step Instructions)


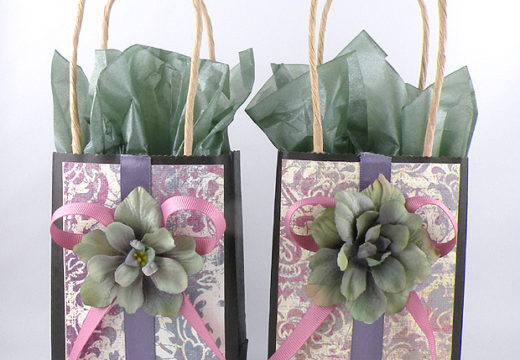
Gift cards and money are the most popular graduation gifts so why not create a DIY Graduation Cap Card Holder to give your gift card or check a personal touch. I love creating themed gift wrap as I made here.
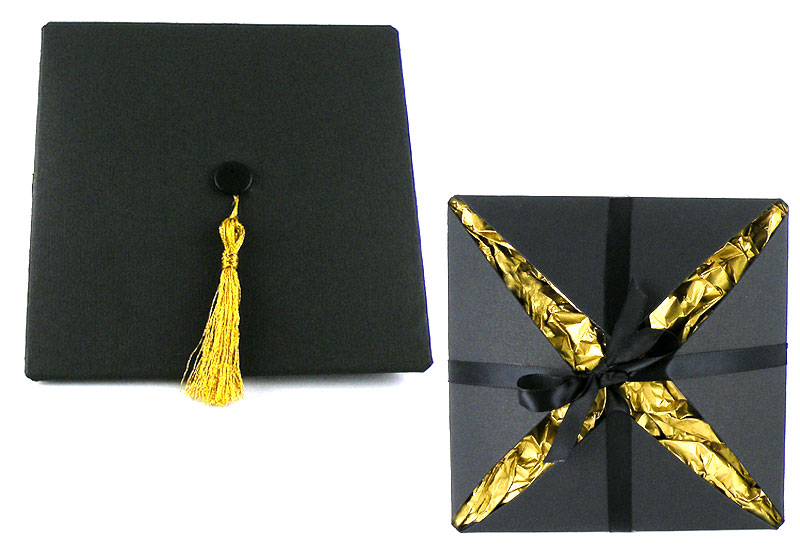
I decided to make a gift holder look like a graduation cap on the top and a gift box on the bottom. This grad cap gift box is also reusable – it can be untied and used to hold graduation cards and photos. You can also personalize it by creating the graduation cap in the school colors.
Video tutorial of another version of my DIY Graduation Gift Box where I show step-by-step how to make the graduation cap gift box and easy to make tassel.
Click here to see more of my graduation party decorations and ideas.
Materials
- 12 x12 black scrapbooking paper cardstock weight
- A tassel made out of embroidery floss (instructions to follow)
- Gold Embroidery Floss
- ¼ inch wide black satin ribbon
- Black button
- Tissue paper to match the tassel color
- Glue stick
- Craft glue
How to Make the DIY Graduation Cap Card Holder
 Step 1: Mark the center point on all sides of the card stock and draw lines to create 4 equal sections.
 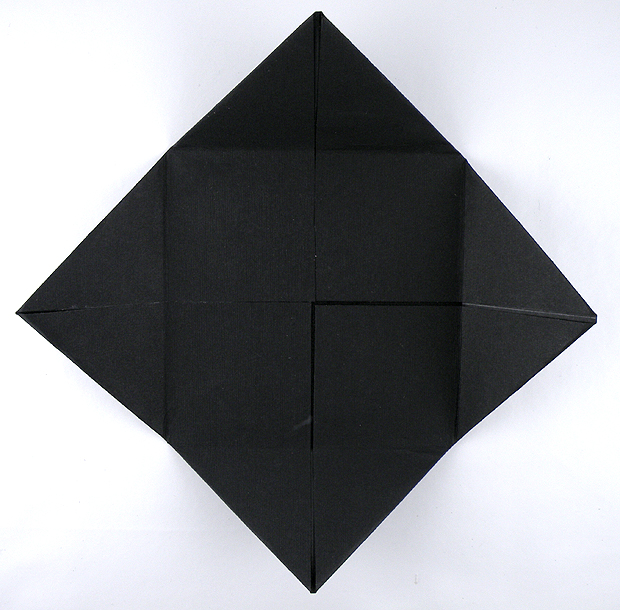 Step 2: Fold each corner into the center of the square and secure each flap with a glue stick.
 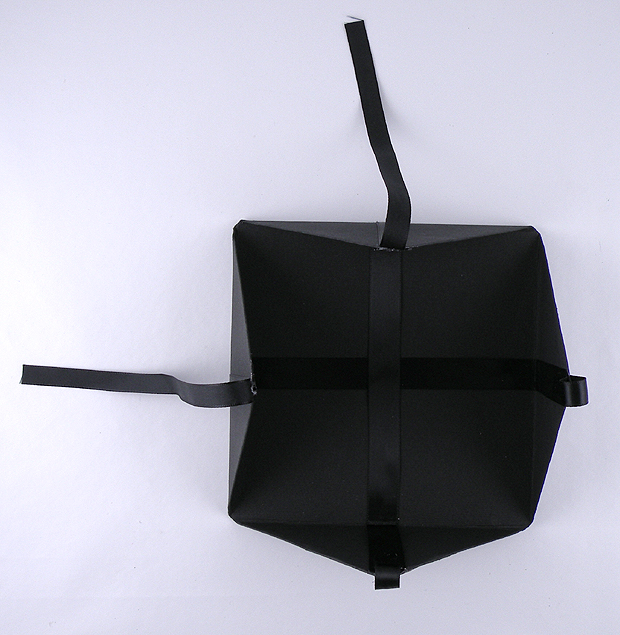 Step 3: Cut two pieces of black ribbon measuring the length from corner to corner.
Step 4: Using the craft glue, attach the ribbon to the paper square to cover the inside seams.
Step 5: Fold each corner in again towards the center.
Step 6: Cut two 11 inch strips of black ribbon and two 4 inch pieces of ribbon.
Step 7: Attach the strips of ribbon to the outside center of each of the triangle flaps. Create loops with the smaller pieces so the longer pieces can be feed through and tied into a bow.
How To Make the Graduation Tassel 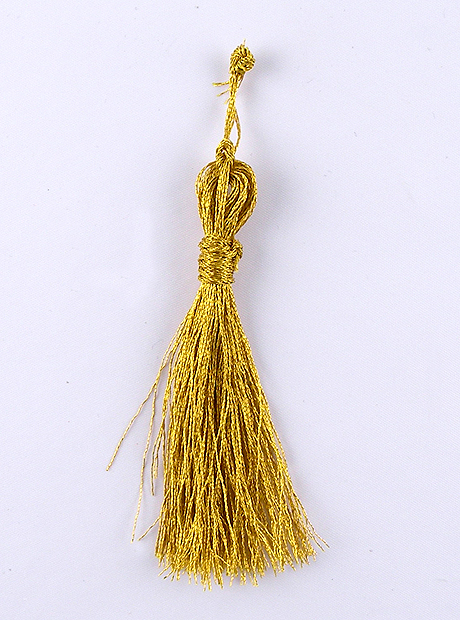 Step 8: Cut a piece of card stock about the length of a credit card and about 1/4 inch wide.
Step 9: Wind the embroidery floss around the length of card stock about 10 times. Feed a 6 inch strand of floss through the top of the wound floss and tie to secure the top of the tassel. Leave the pieces long enough so the tassel has a tail to secure to the grad cap.
Step 10: Wrap a strand of floss 4 times around the top of the wound floss on the card stock about ½ inch from the top and tie to secure.
Step 11: Cut the bottom strands of the floss to create the tassel fringe. Slide the card out of the tassel retie the knot at the top, if needed, to tighten the tassel. 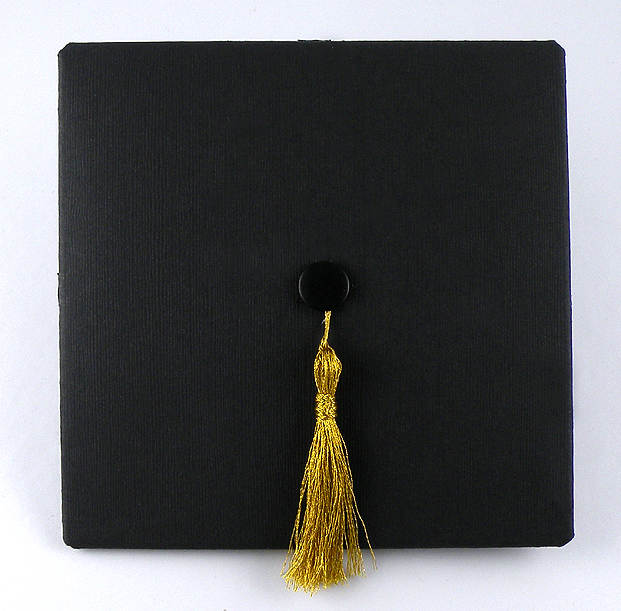 Step 12: Attach the tail of the tassel to the center front of the gift card holder with craft glue.
Step 13: Glue the black button on the direct center to finish the look.
Fill the box with tissue to finish your beautiful Graduation Cap Card Holder! This themed gift wrap is so unique, not only is a beautiful and thoughtful gift wrap, it would also make a great graduation party decoration.