DIY Fall Gift Wrap – Golden Magnolia
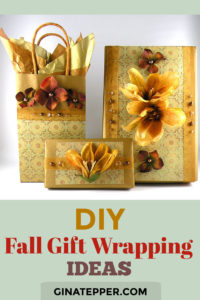
It is always nice to give a beautifully wrapped gift to someone. I love to capture the colors and themes of the season in my designs. I feel that the gift wrap is part of the gift rather than just a way to hide the item that is inside. These beautiful fall gift wrap designs capture the warm gold and brown tones of the fall. Gold patterned scrapbooking paper, silk flowers and beads create a stunning design that is perfect for any occasion.
Difficulty Easy
Materials for the Fall Gift Wrap Designs
- Gold matte wrapping paper
- Gold tone patterned scrapbooking paper
- 1-inch-wide gold sheer metallic ribbon (a color that coordinates with the scrapbooking paper)
- Bronze faux pearl beads
- Gold beads
- Small metallic bronze beads
- Gold silk magnolia flower (stems removed)
- Amber silk flowers (stems removed)
- Gold gift bag
- Craft glue
- Hot glue gun
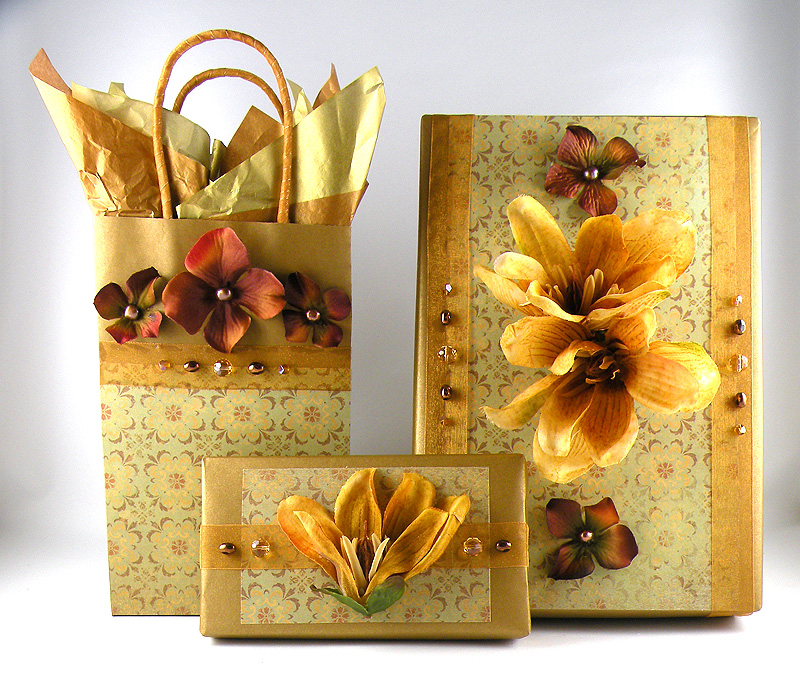
Instructions for the Wrap Large Gift Box

1. Wrap a box in gold colored wrapping paper
2. Cut a piece of the scrapbooking paper 1 inch smaller than the width and the full length the top of the box.
3. Apply glue to the wrong side of the craft paper and attach the craft paper to the box, lining up the edge of the paper with the top and bottom edge of the box.
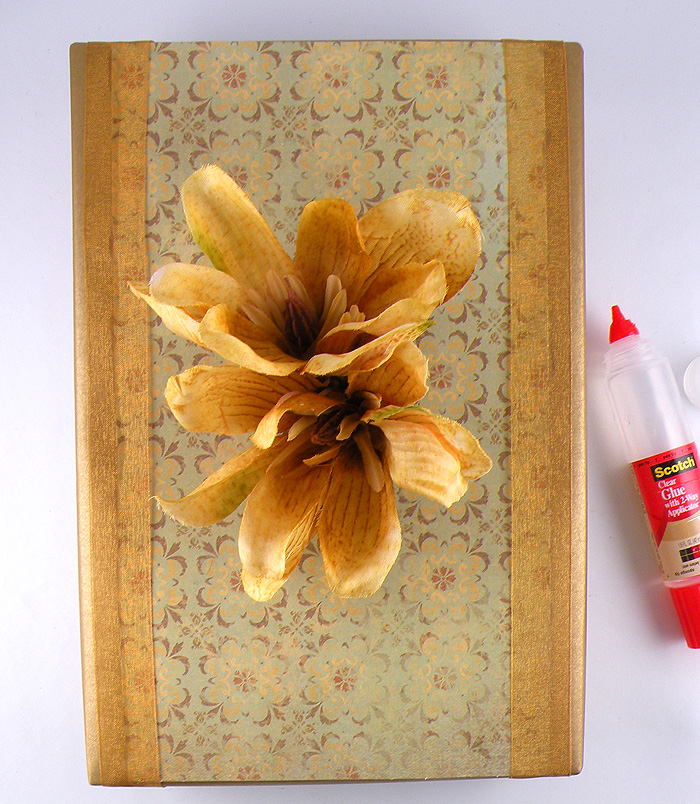
4. Apply hot glue to the back of the each of the flowers and attach them to the center of the box.
5. Cut a two pieces of the sheer ribbon long enough to wrap around the length of the box plus 1 inch.
6. Wrap the ribbon around the box centered over each edge of the scrapbooking paper. Overlap and glue the ends on the bottom of the box with craft glue.
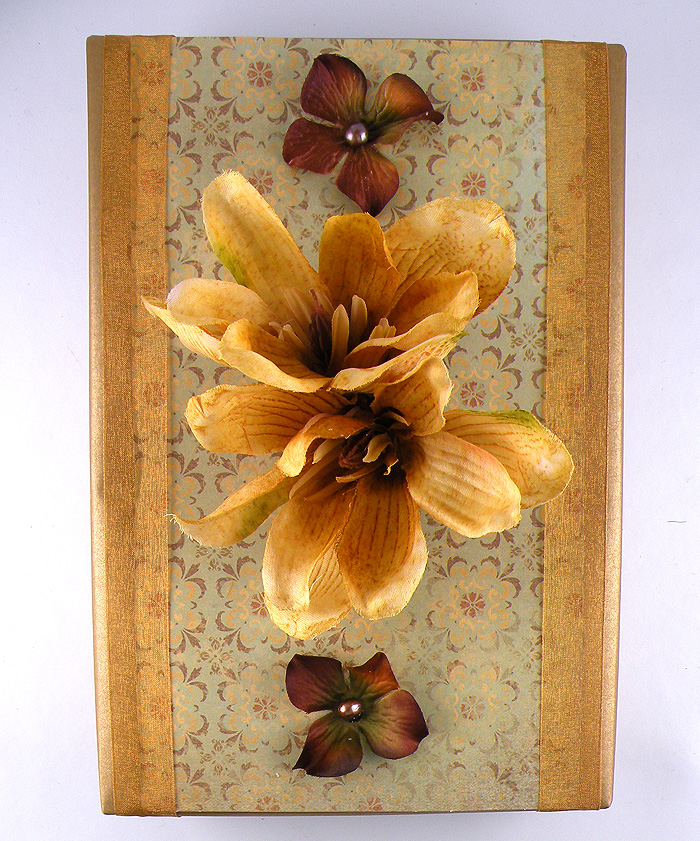
7. Apply hot glue to the back of each of the amber flowers and attach to the top of the box above and below the magnolia flowers. Apply a small amount glue to the back of each of the pearl beads and attach them to the center of each of the flowers
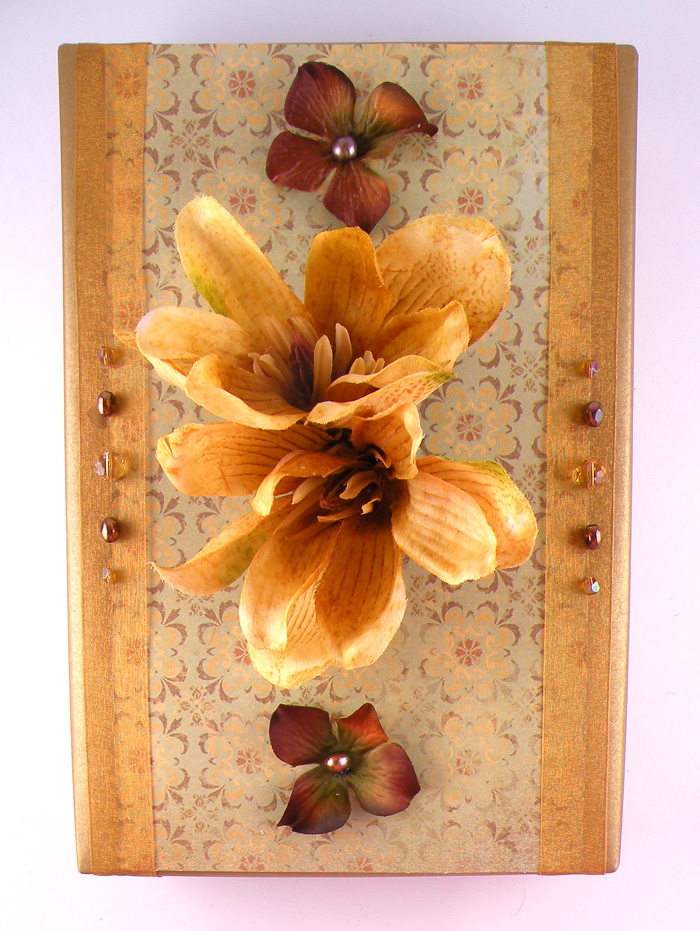
8. Apply a small amount craft glue to the back of each of the beads and attach them to the each of the ribbons as shown above.
Instructions for the Gift Bag
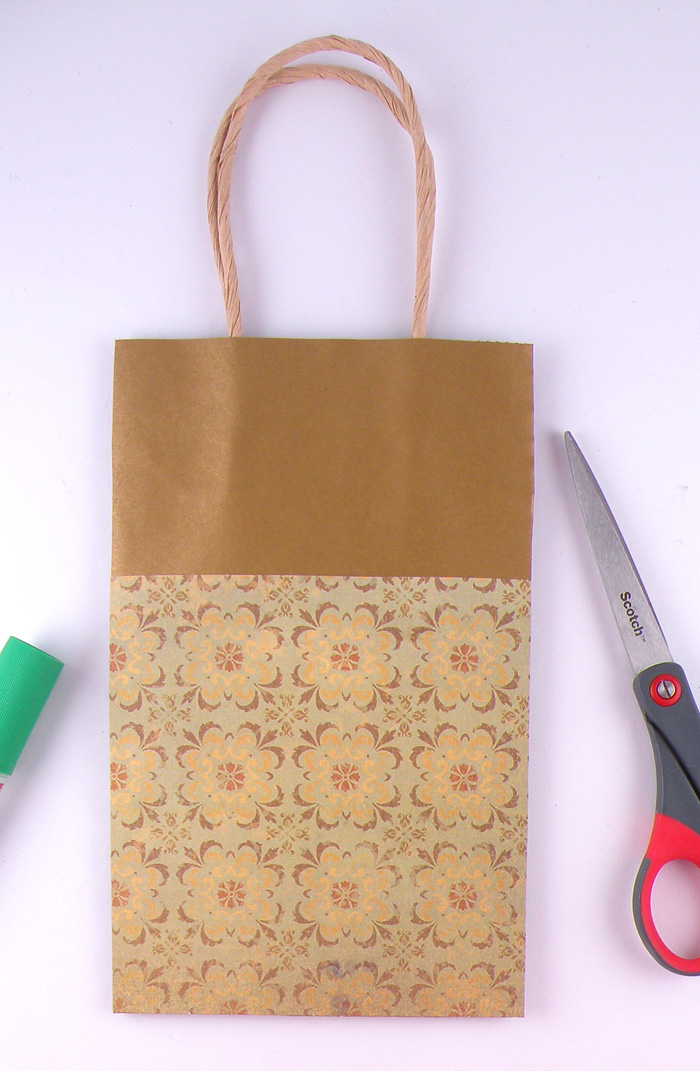
1. Cut a piece of the gold patterned scrapbooking paper the entire width and 2- 1/2 inches smaller than the length of the front of the bag.
2. Apply glue to the wrong side of the scrapbooking paper, especially around the edges. Attach it to the front of the bag lining up the bottom edge of the paper with the bottom edge of the bag.
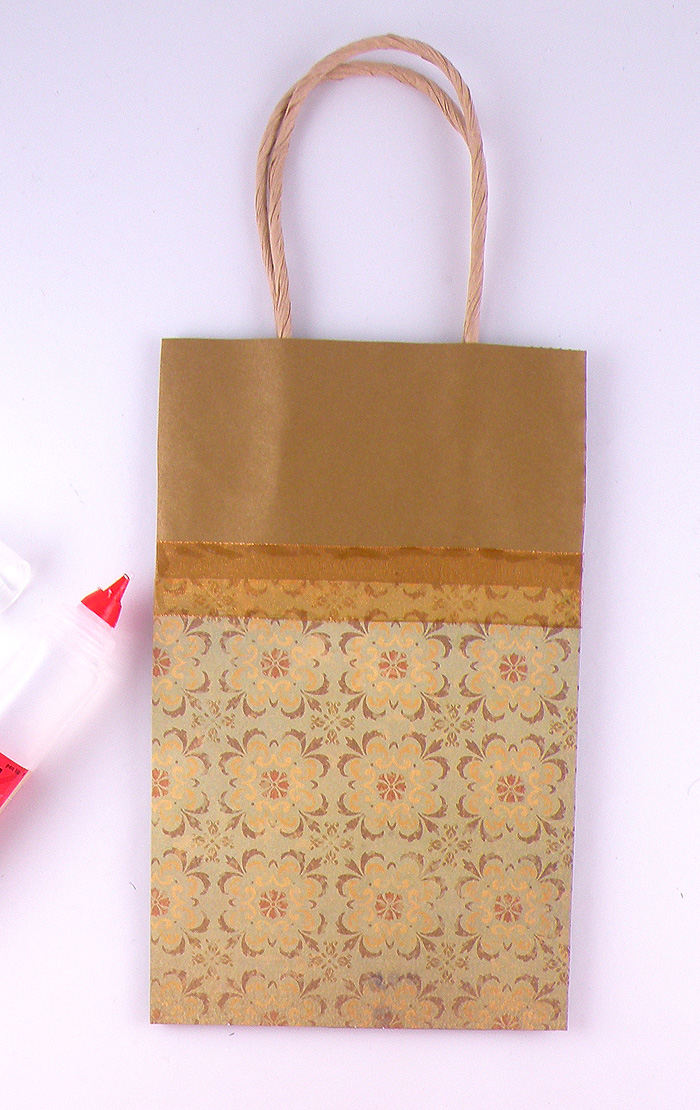
3. Cut a piece of the metallic sheer ribbon the entire width of the front of the gift bag.
4. Attach the gold ribbon to the front of the gift bag, centered over the edges of the scrapbooking paper. Small amounts of glue can be added to the cut edges of each side of the ribbon to prevent fraying.
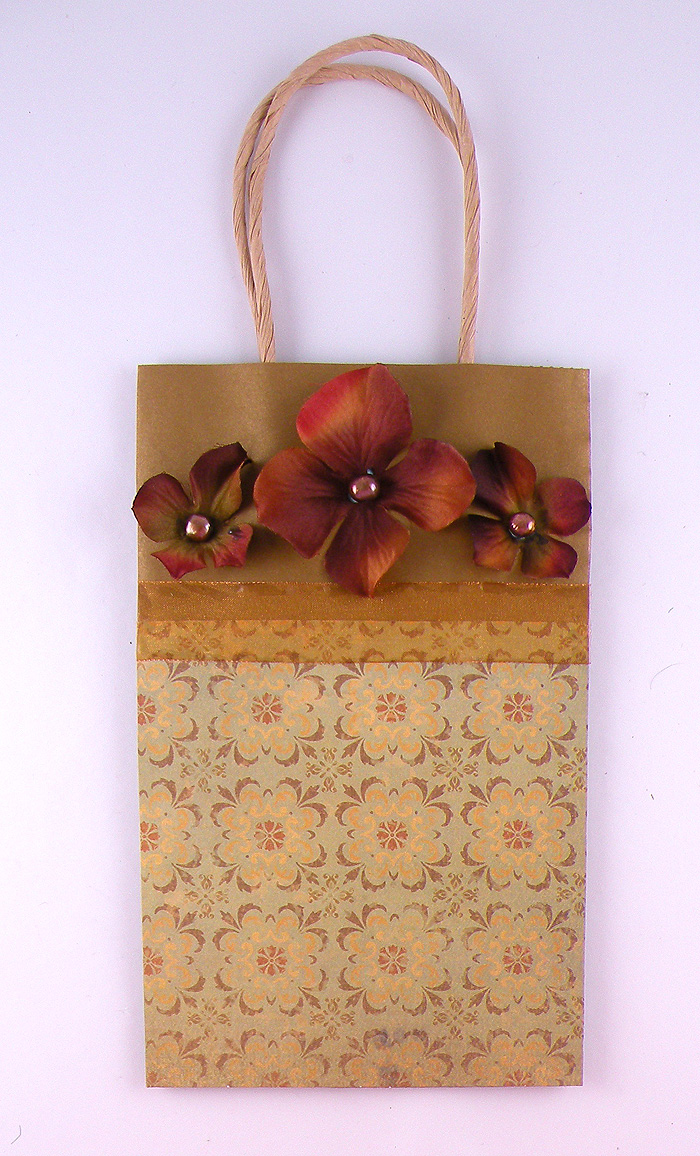
5. Add hot glue to the back of each of the flowers and attach to the bag in the configuration shown below.
6. Apply a small amount glue to the back of each of the pearl beads and attach them to the center of each of the flowers.
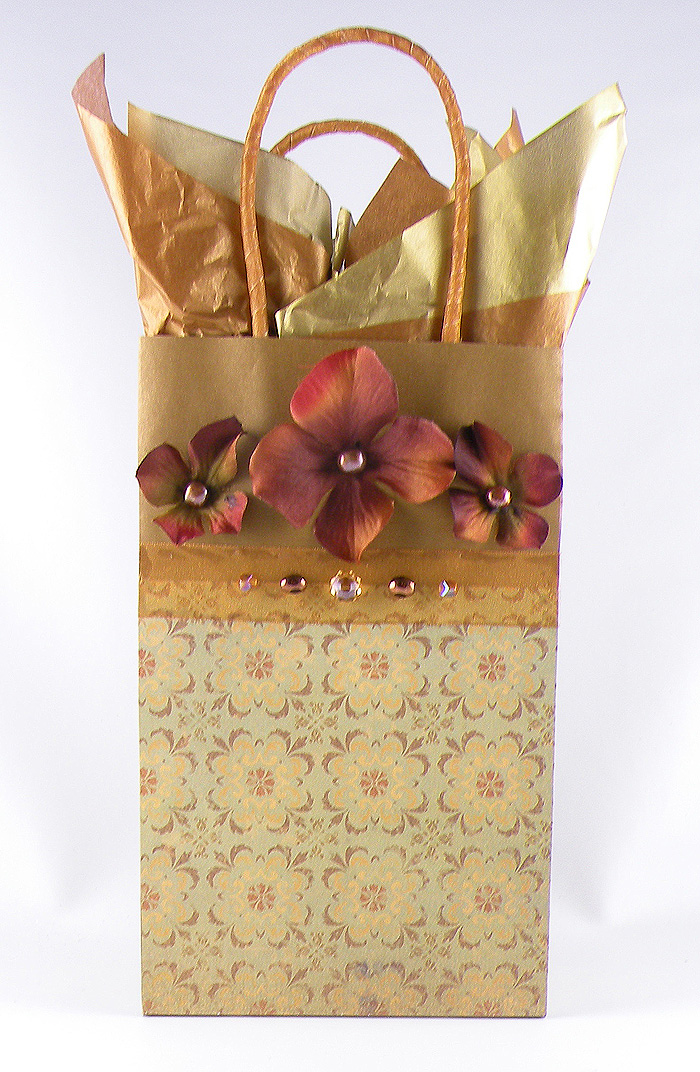
7. Apply a small amount of Scotch® Quick-Dry Adhesive to the back of each of the beads and attach them to the ribbon in the configuration shown below.
8. Fill the bag with layered tissue paper.
Instructions for the Small Box
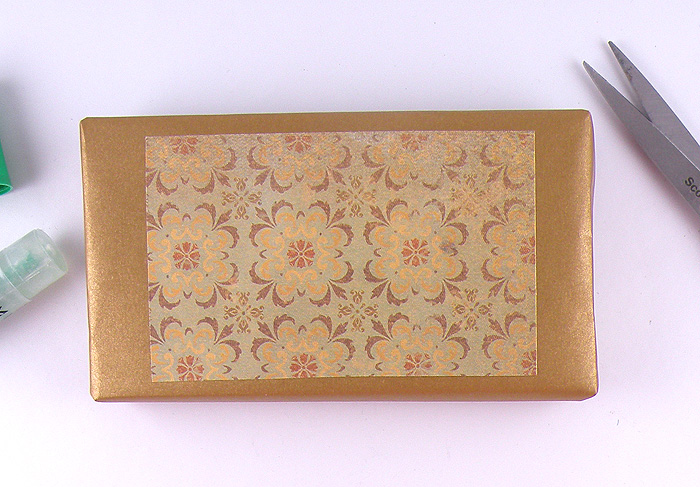
1. Wrap a box in the gold wrapping paper.
2. Cut a piece of the gold tone patterned scrapbooking paper the 1/2 inch smaller than the length of the box and 2 inches smaller than width of the top of the box.
3. Apply glue to the wrong side of the scrapbooking paper, especially around the edges. Attach it to the top of the box, centered between the edges.
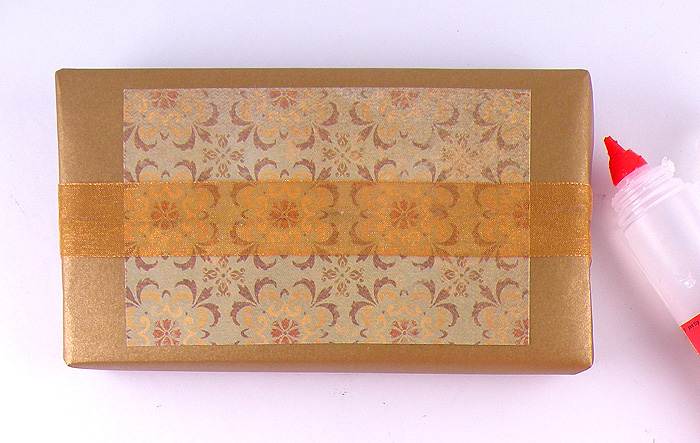
4. Cut a piece of the sheer ribbon long enough to wrap around the width of the box plus 1 inch.
5. Wrap the ribbon around the box overlapping and gluing the ends on the bottom of the box with craft glue.
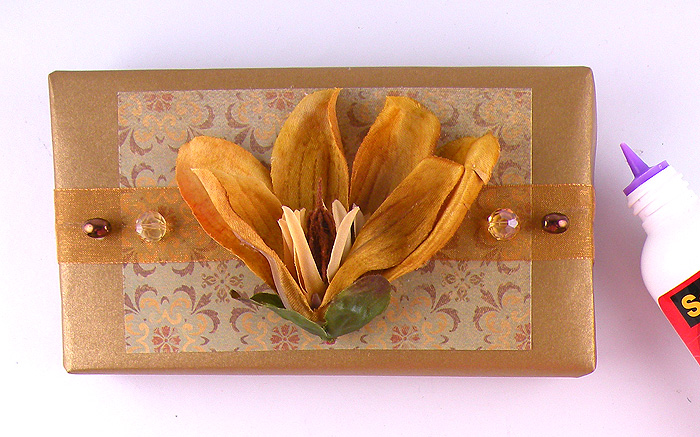
6. Fan open the magnolia flower so the inside of the flower is showing. Hot glue the back of the flower and attach it to the center of the box over the gold ribbon.
7. Apply a small amount of craft glue to the back of each of the beads and attach them to the box as shown above.