Stunning DIY Valentine’s Day Gift Box (Painted Bubble Wrap)

Painted Bubble Wrap Valentine’s Day Gift Box
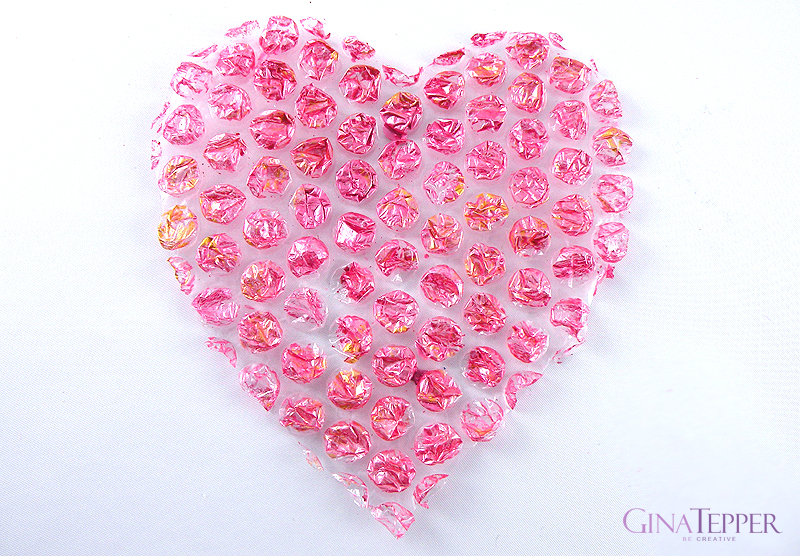
Create a beautiful DIY Valentine’s gift box with painted bubble wrap. I am always looking for new ways to reuse what I already have on hand. I had the idea of painting bubble wrap to give my DIY Valentine’s Day gift boxes and bags a nice textured almost beaded look. I always wanted to know if you can paint bubble wrap and the answer is yes you can. I was surprised by how nice it came out.
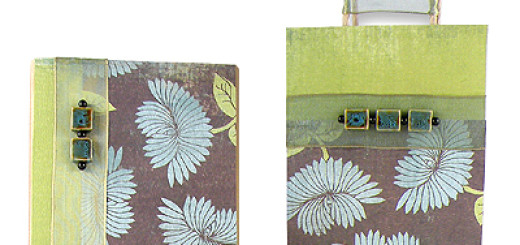
At first glance, the painted bubble wrap heart doesn’t even look like bubble wrap. I created this heart Valentine’s Day gift box out of a tissue box where I cut out the top part of heart shapes on all sides and decorated them with my painted bubble wrap heart.
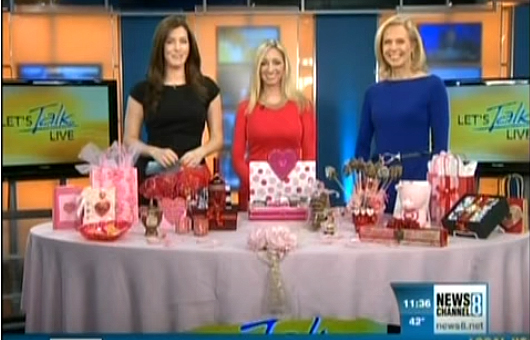
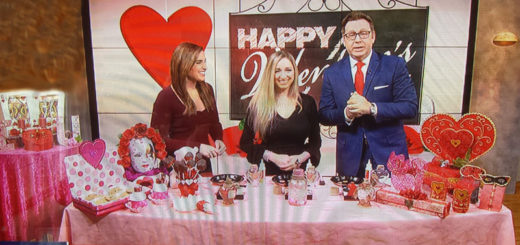
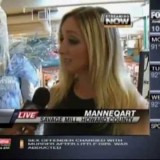
It’s easy to paint bubble wrap with acrylic paint and a foam brush. I taught the hosts at my Let’s Talk Live Valentine’s Day TV segment how to paint bubble wrap for this Valentine’s gift box. It’s fun to watch Natasha and Melanie doing bubble wrap painting on live TV. They were amazed at the Valentine’s Day gift box embellished with painted bubble wrap. They thought I hand-beaded the box and were amazed at how easy it was to create the illusion of a bejeweled heart.
Click here to watch my Valentine’s Day TV segment on Let’s Talk Live News Channel 8.
DIY Valentine’s Day Decorations and GIfts
I had so much painting bubble wrap, I decided to use the same technique for my Nautilus wearable art design. I created a steampunk jellyfish for a ManneqArt competition. My design was part jellyfish and part steampunk submarine. I used painted bubble wrap to create the tentacles flowing from the dress.
Click here to learn how I made it and how I painted the bubble wrap tentacles.
Here is a picture of me on stage wearing my Nautilus design during the competition.
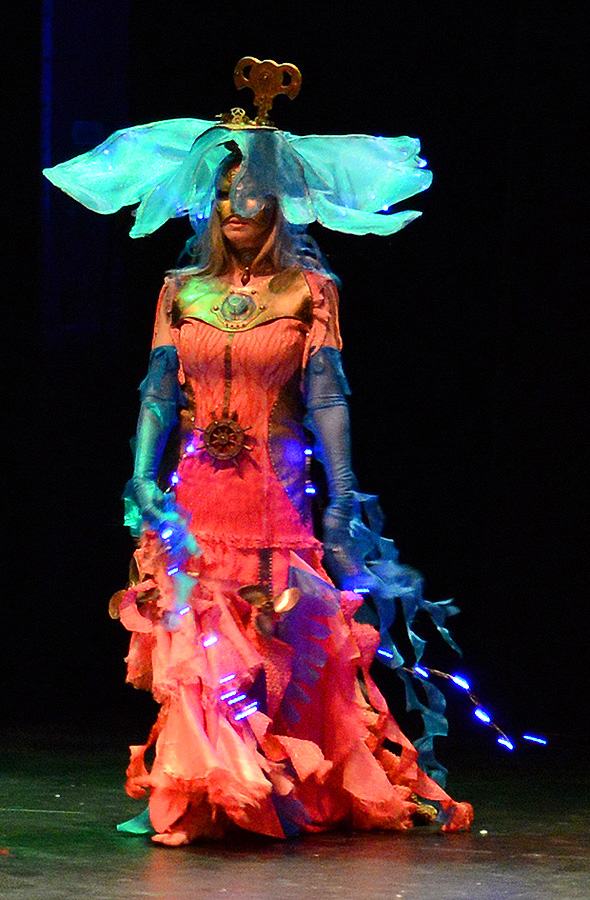
Nautilis Wearable Art
How to Make the DIY Valentine’s Day Gift Box
Materials DIY Valentine’s Day Gift Box
- Tissue Box
- Bubble Wrap
- Foam Brush
- Acrylic Paint
- Gold Cord
- Craft Glue
- Tissue or Decorative Mesh Fabric
How to Make the Valentine’s Day Gift Box with Painted Bubble Wrap
- For box design, cut off the top of a tissue box and cut the top edges into a heart shape on all sides of the box. It is best if you make a heart pattern to fit the box because you will also be using it to cut out the bubble wrap.
- Paint the heart box light pink.
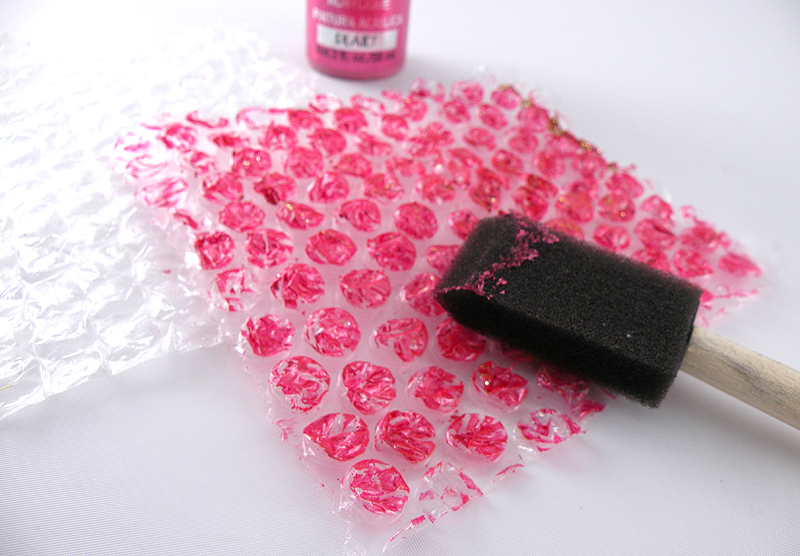
- Lightly paint the bubble wrap with the foam brush. It is nice how the paint only attaches to the bubbles because they are raised.
- Cut out four bubble wrap heart shapes to match the ones cut out on the box and attach with craft glue
- Glue the gold cord around the heart bubble wrap to outline.
- Fill the box with tissue or decorative mesh fabric.

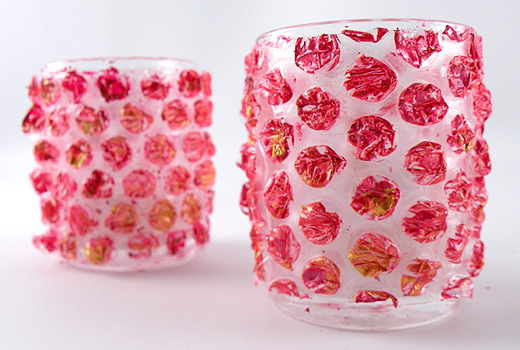
Painted Bubble Wrap Votives
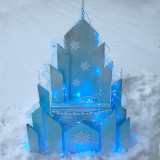
I liked the look of the painted bubble wrap so much that I also used it to cover votive candle holders. I place battery operated tea lights inside. The decorative bubble wrap gives the votives such a pretty glow when the lights are dimmed.
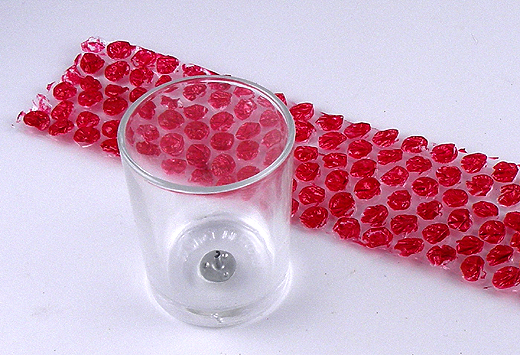
Paint a strip of bubble wrap the size to wrap around the votive candle. Attach it to the votive with double-sided tape. I only use battery tea lights with these for safety and because I don’t want to risk melting the bubble wrap.


TYSM for telling me this link!
You’re welcome! I would love to see your creation!