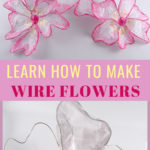
How to Make Wire Flowers – Easy Step-by-Step Instructions (2026 Update)
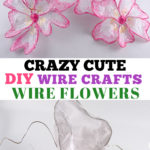

My signature wire flowers as featured on my live TV craft segment! A boutique look made with simple budget materials.
Learn how to make wire flowers as a beautiful decoration or a special gift. With just a few inexpensive items, you can create these works of art. The nice thing about these wire flowers is they do not have to be perfect, they look better if all of the petals are not in the same shape and size.
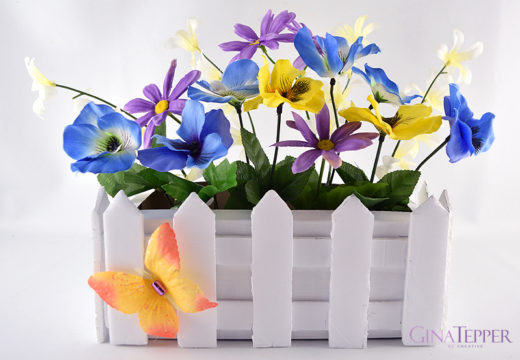
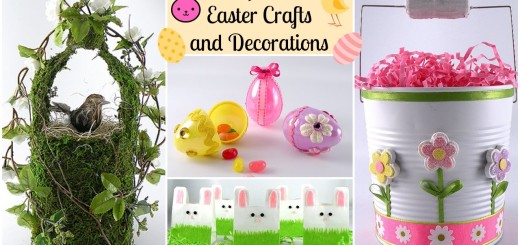
They make a great Spring decoration, Easter decoration or beautiful hand-made gift for Mother’s Day. Paint glass vases to display these stunning wire flowers to complete the look.
Why I Love These Boutique Wire Flowers
I showed how to make these wire flowers craft on my Mother’s Day TV segment at NBC affiliate WBAL. They were the show stopper for my spring table setup.
This wire flower DIY is a lot of fun to make and different versions of these flowers would be a great decor for any occasion. Once they are painted the translucent petals resemble beautiful stained glass.
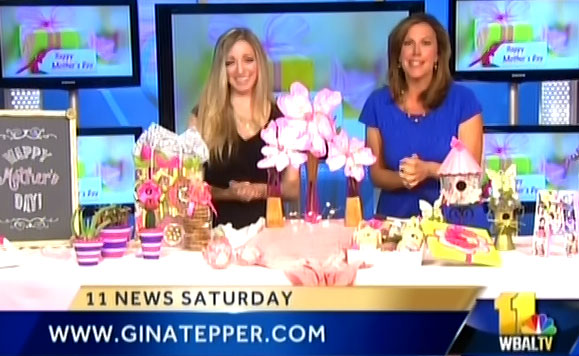
Sharing my ‘High-Impact, Low-Effort’ Mother’s Day designs on live TV!
I first had the idea to make wire flowers after I made a wearable art creation for a fashion show where I created an abstract steampunk jellyfish. I designed a fitted steampunk-inspired dress with a flowing skirt to resemble tentacles.
I wanted a headpiece to look bell-shaped and appear to have fluid movement. I needed a strong wire that would retain its shape. I decided to use metal coat hangers. Although they were not that easy to bend and shape, the headpiece came out exactly how I pictured it looking.
How I Made my Avant-Guard Wearable Art
For this avant-garde wearable art, I designed the costume, painted the fabric, sewed the costume and created all of the accents. I also wove fairy lights into the jelly fish headpiece and attached them to my custom made gloves to make the jellyfish glow and come alive.
Click here to learn how I made it and how I made the bell-shaped jellyfish headpiece.
Here is a picture of me on stage wearing my Nautilus design during the fashion show portion of the competition. My original wearable art design won first place in the water category.

‘Nautilus’ — Original wearable art design. This complex build, featuring fairy lights and hand-wired couture elements, was the design inspiration for my DIY wire flowers. 🥂
When I decided to use my same technique to make flowers made out of wire, I wasn’t sure what type of wire I was going to use to make them. I knew that a coat hanger would have been too thick and heavy to make smaller flowers and I would not be able to bend them into smaller petals.
Pro Tips for Bending Jewelry Wire
I wanted a type of wire I could shape with my hands and use pliers to twist the petals together. If you already have craft wire that is not too thin, test it to see if you can make the petal shape.
I thought that craft wire would not be strong enough, but when I made a flower frame and attached the tissue paper with glue, it stabilized the flower perfectly.
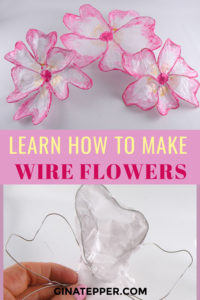
Here is are the instructions for step-by-step wire flowers. This tutorial can be used for how to make large wire flowers and also small wire flowers.
Materials
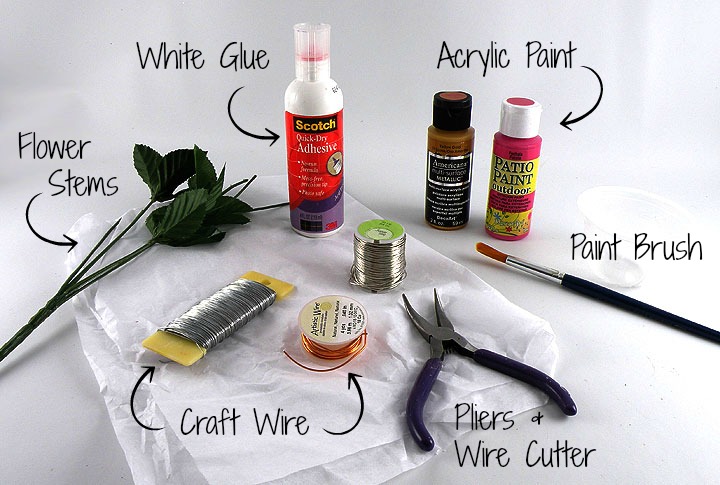
Everything you need to make a stunning wire flower. Using the right gauge of wire is the secret to a professional-grade result! 🥂
- Craft Wire
- Tissue Paper
- Pliers and Wire Cutter
- White Glue
- Paintbrush
- Multi-Surface Acrylic Paint
- Beads
- Hot Glue Gun
Amazon Associates Disclosure
www.GinaTepper.com is a participant in the Amazon Services LLC Associates Program, an affiliate advertising program designed to provide a means for sites to earn advertising fees by advertising and linking to Amazon.com.
How to Make Wire Flowers
Creating the Petals
- Begin by bending the wire to create your first petal. Create the petals with slightly different shapes but keep them approximately the same size. In nature, flowers aren’t perfectly symmetrical. They actually look much more “High-End” and realistic if they are not perfect! For a balanced look, I think the flower looks best if you use exactly 5 petals to create the full bloom.
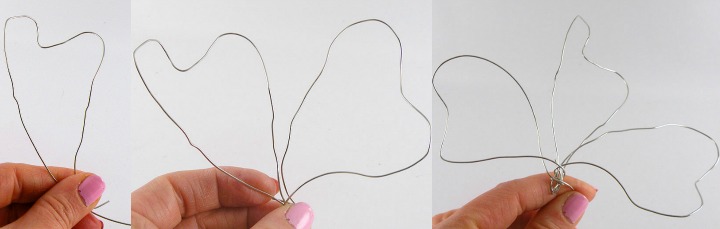
Step-by-step: Shaping the continuous wire to create individual petals. Precision twisting at the base is the key to structural integrity!
- Twist the center of the wires together at the bottom of the petal before creating the next one. Use a pair of needle-nose pliers to make sure the base of the petals are tight to lock in the design. Continue to make the petals with the same piece of wire without cutting it.
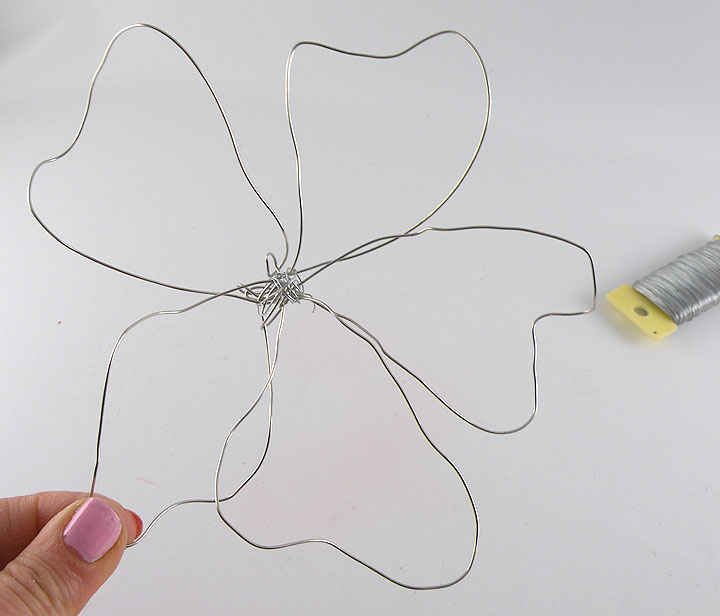
The completed 5-petal wire frame. Engineering this from one continuous wire ensures a strong ‘hardware patch’ for your design!
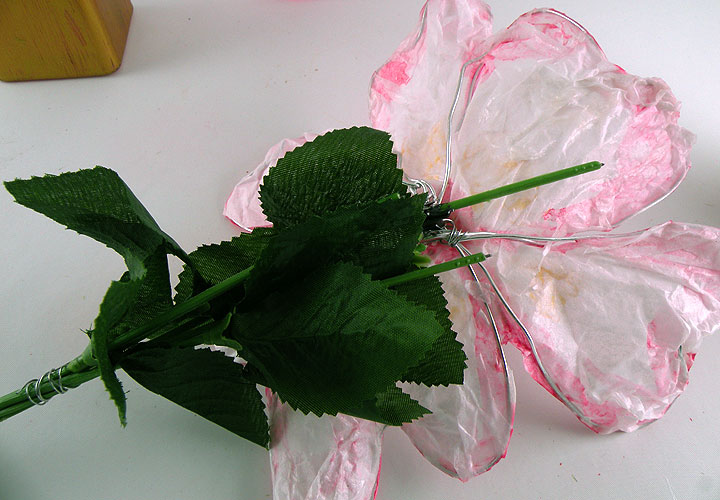
- Twist a new piece of thin wire around the center of the flower to secure, keeping a long piece of the wire for tails. The tails will be used later to attach to a floral stem.
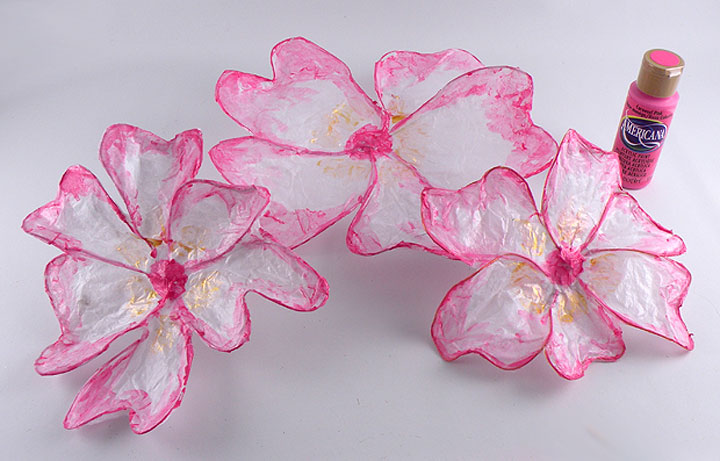
Here are the three flowers I made for the finished design. I used different wire because that is what I had on hand. As long as it is able to easily be bent into petals and it is not too thin, any floral wire will work.
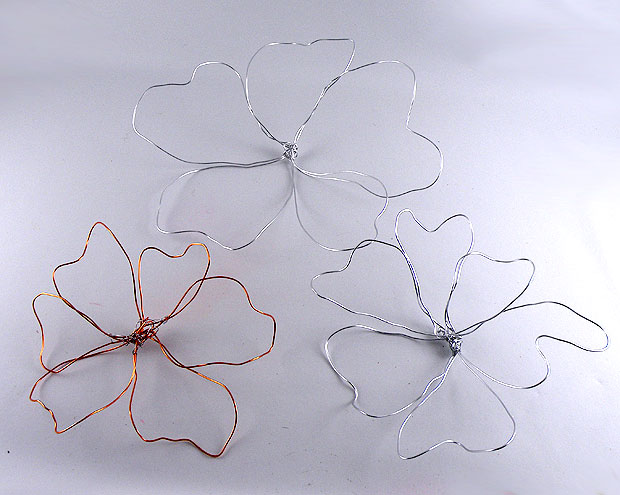
Variety is the key! Experiment with different wire colors like silver and copper to create a high-end, custom floral arrangement. 🥂
- Add white glue to the rim of the wire flower frame. I like to use a quick drying white tacky craft glue so I don’t have to wait to long for it to dry. I work on one petal at at time so the glue doesn’t dry too fast.
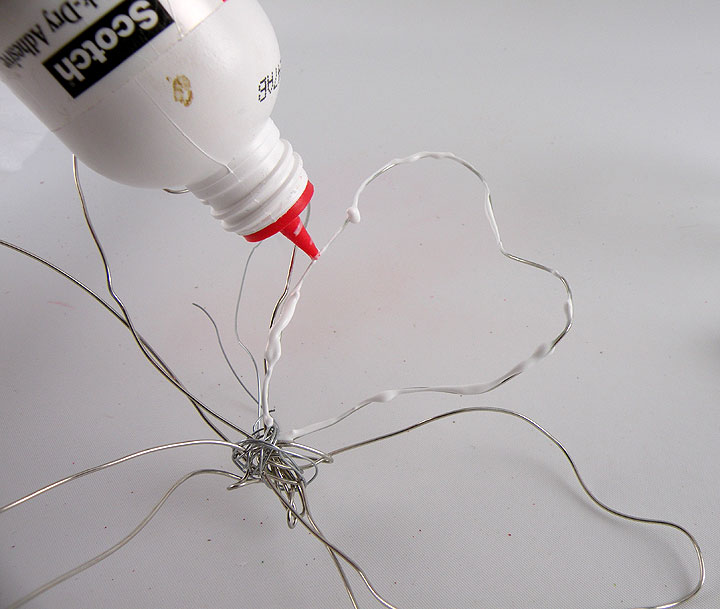
- Cut pieces of white tissue paper and attach it the wire flower, covering each petal. I only cover the front and fold the edges and glue over the edges of the wire petal.
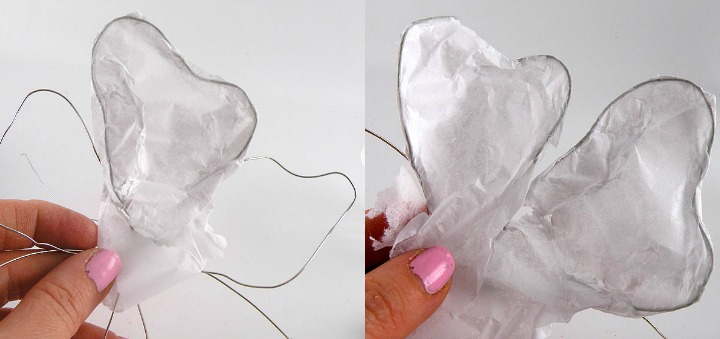
- Continue gluing tissue paper to the wire frame until the entire wire frame is covered.
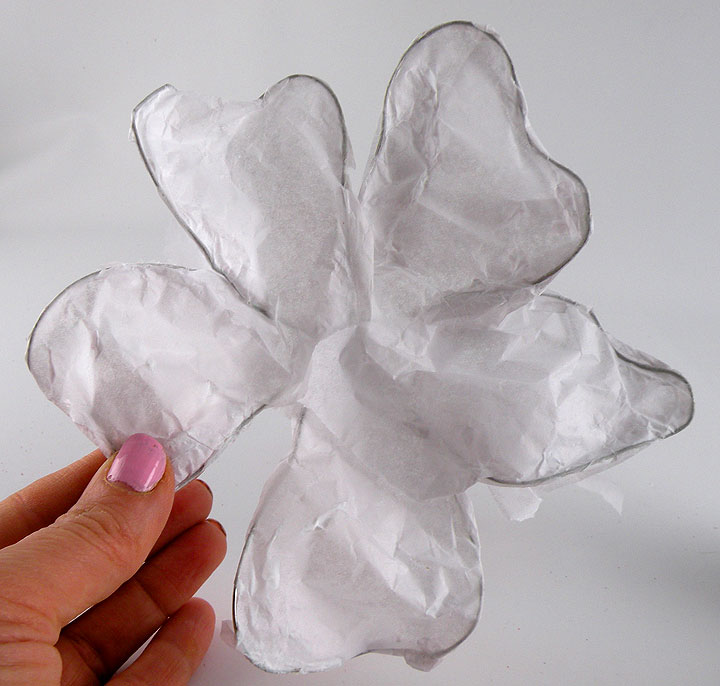
- Create a glue and water mixture to thin the glue slightly. The glue should be thin enough to paint the tissue paper but not watery. Paint the entire flower with the thinned glue and let dry.

I like to reused a clean yogurt, fruit cup or snack cup to mix my glue mixture.

Painting the Petals
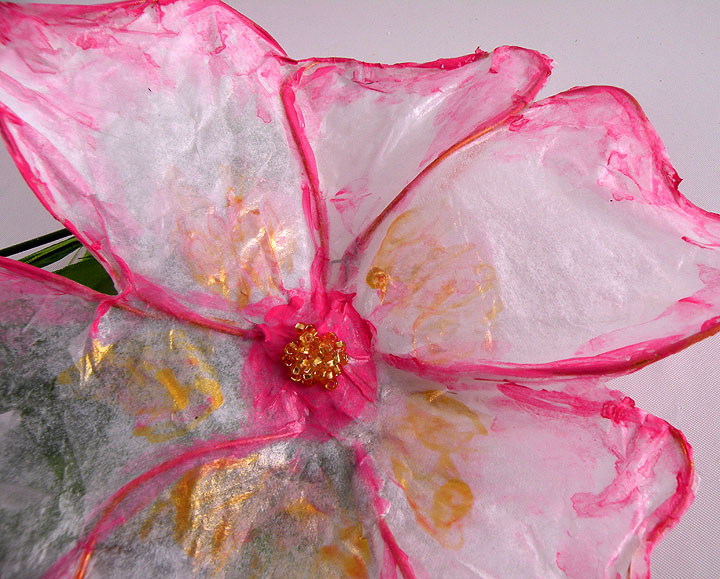
- Paint the outside rim and center of the flowers with acrylic paint. I dipped the paintbrush in water and brushed it over the paint while it was still wet to give the inside of the petals a color wash.
- I brushed a small amount of gold paint onto the inside of the flower near the center for a nice dimensional glow.
- Glue small gold seed beads to the center of the flower to add to the elegance of the flowers.
Attaching the Flowers
- Attach the wire tails of the flower to a floral stem or skewers and secure it with hot glue.
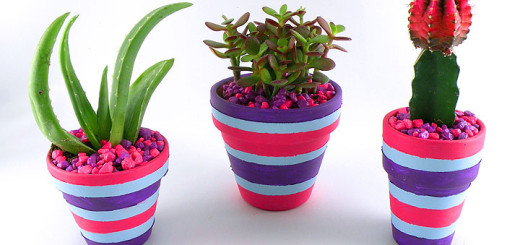
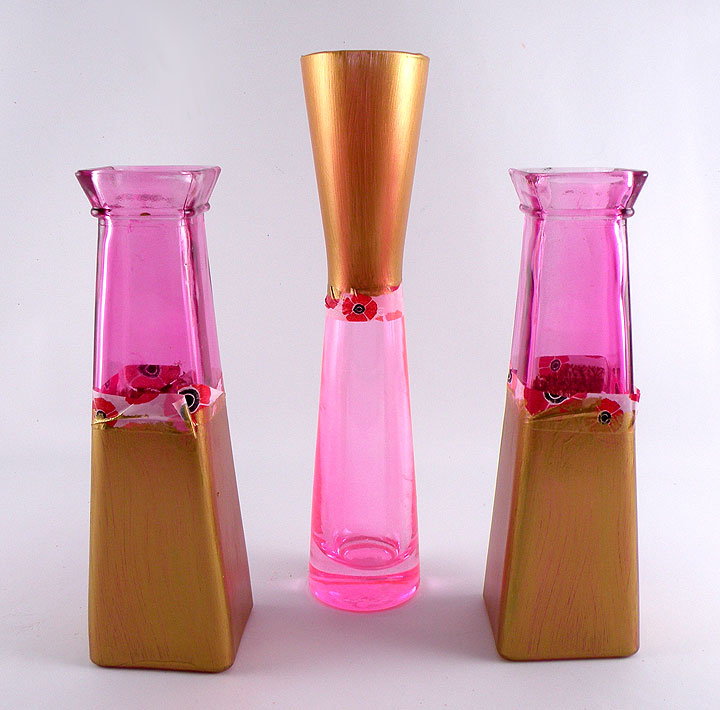
Decorating the Vases
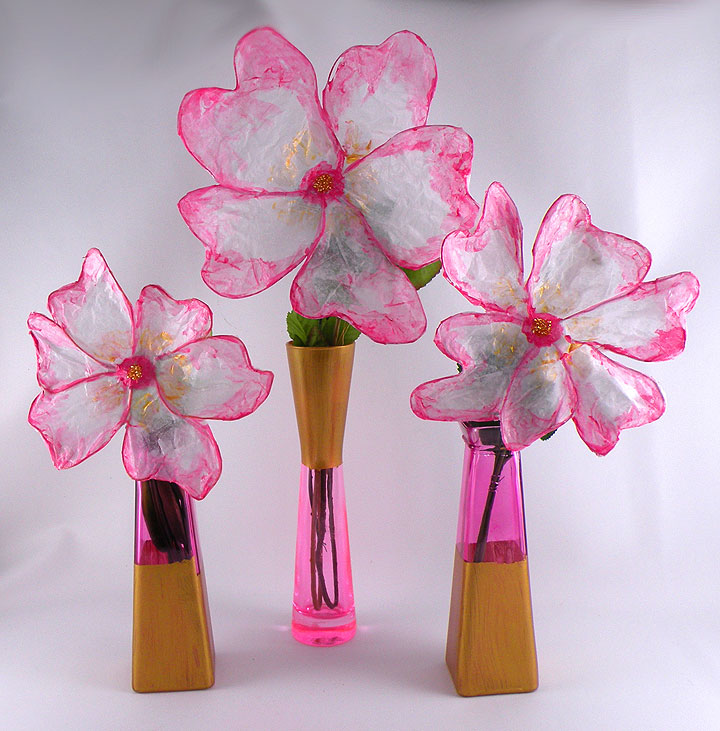
- Tape off sections of glass vases and paint with gold metallic acrylic paint. (I brought these vases from the Dollar Tree). I used washi tape so it could easily be removed without residue. Let dry.
- Remove tape from the vase and display your beautiful wire flowers! Please send me a picture if you make these. I would love to see them!
Love this look? See how I made these flowers out of reused Plastic Bottle to create high-end Spring decor.
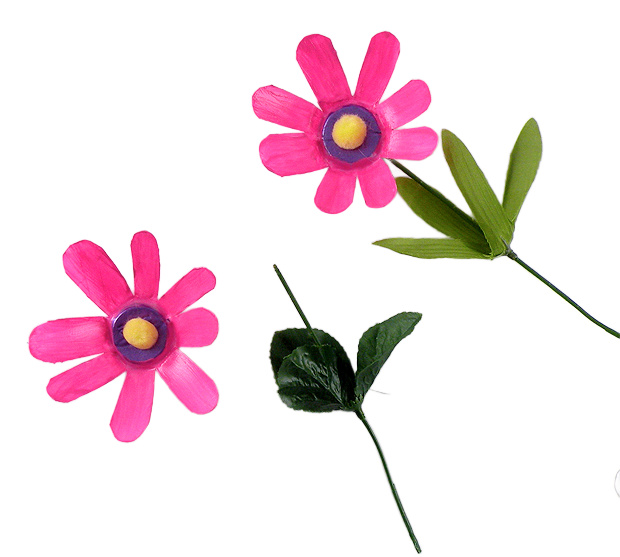
Can you believe these were water bottles? 🥂 A stunning upcycled hack that turns trash into boutique-quality decor!