DIY Super Cute Halloween Lanterns

I absolutely love Halloween it is my favorite holiday. I have a great time making the decorations and wearing Halloween costumes. Halloween decorations are so much fun but I don’t like spending a lot of money on them. I try recycling things from around the house to make my creepy crafts.
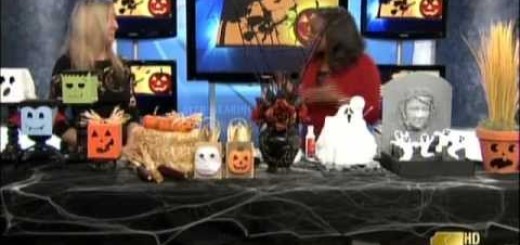
I have an obsession with reusing tissue boxes like I did here. Another one of my tissue box creations is Halloween Lanterns that can be used either inside or outside to decorate a front porch. A LED light can be placed inside the tissue box lantern to illuminate the carved faces. Use different colored lights for a more dramatic effect.
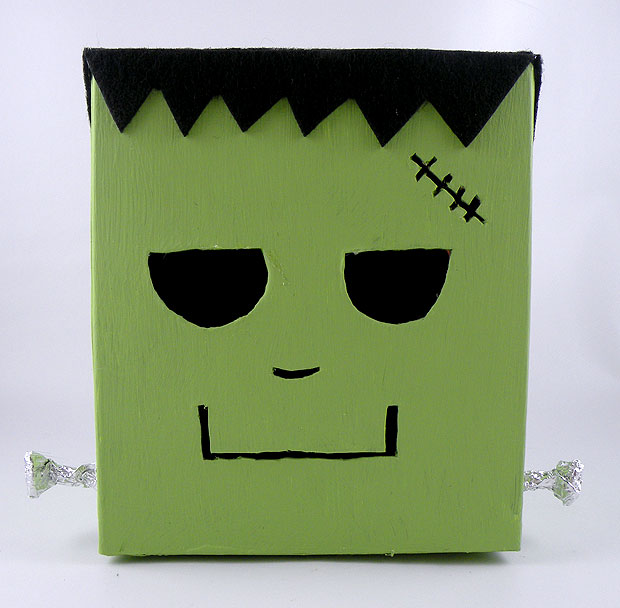
Frankie Halloween Lanterns
Materials
- Tissue box
- Acrylic paint primer such as Gesso
- Green acrylic paint
- Black peel and stick felt
- Small piece of aluminum foil
Instructions
Step 1: Paint the tissue box with primer to cover the pattern on the tissue box.
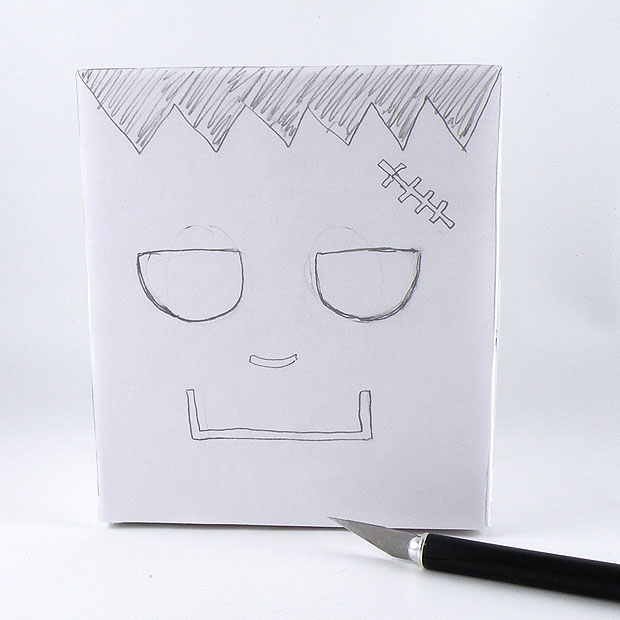
Step 2: Turn the box upside down so the opening is on the bottom of the box. Draw Frankenstein face with pencil on the front of the tissue box.
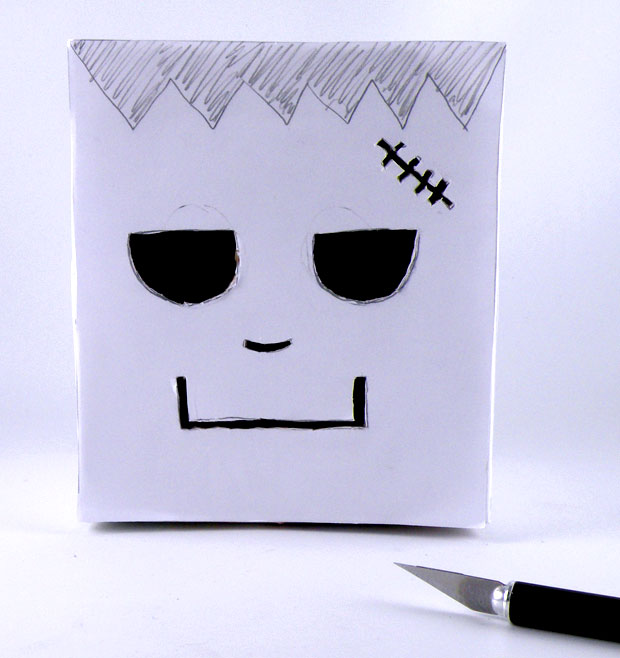
Step 3: Cut the face out with a pumpkin carving kit or an X-Acto knife or pumpkin carving kit.
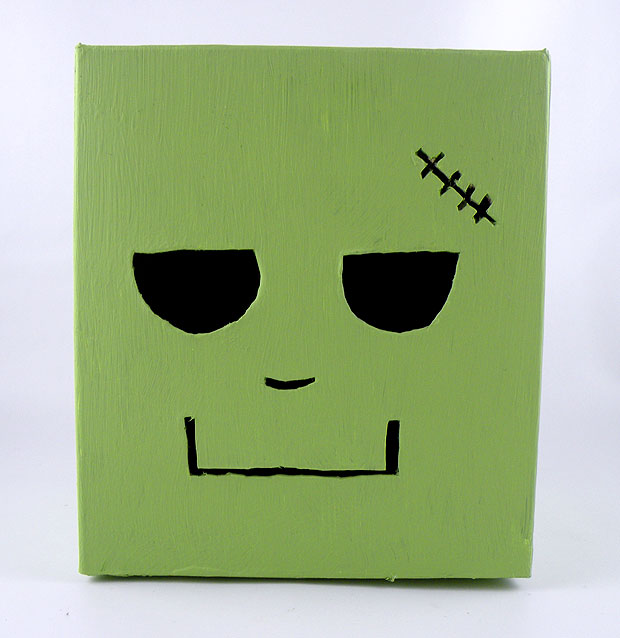
Step 4: Paint the face with green acrylic paint. It may need 2 coats to cover evenly. Let dry.
Step 5: Cut hair out of peel and stick felt. Cut a square for the top and spiky bangs for all four sides of the head. Peel and stick the hair to the box.
Step 6: Mold two pieces of aluminum foil to form the bolts for his neck and hot glue them to the sides of the box.
Step 7: Use a LED light and place in the box to illuminate the face.
Drak Halloween Lanterns
Materials
- Tissue box
- Acrylic paint primer such as Gesso
- Blue acrylic paint
- Black peel and stick felt
- LED Lights
Instructions
Step 1: Paint the tissue box with primer to cover the pattern on the tissue box.
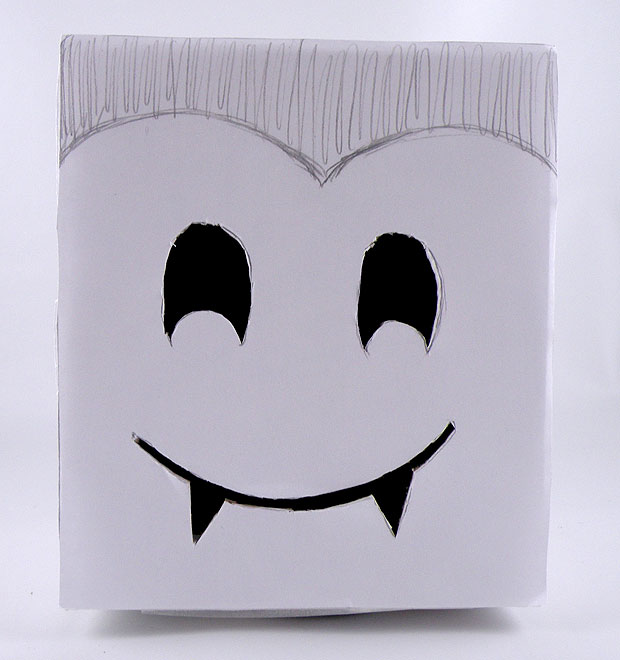
Step 2: Turn the box upside down so the opening is on the bottom of the box. Draw the Dracula face with pencil on the front of the tissue box.
Step 3: Cut the face out with a pumpkin carving kit or an X-Acto knife or pumpkin carving kit.
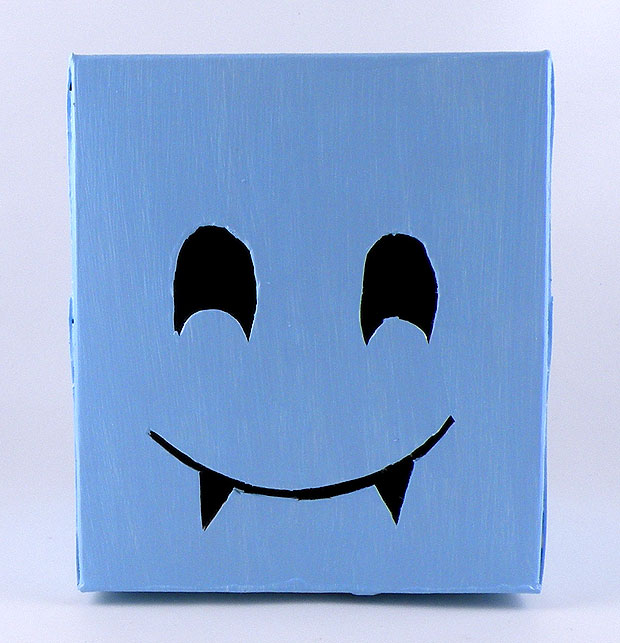
Step 4: Paint the face with blue acrylic paint. It may need 2 coats to cover evenly. Let dry.
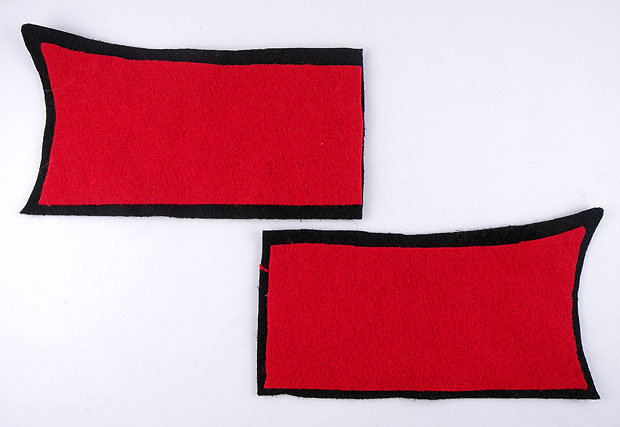
Step 5: Cut pieces of black and red felt to make the collar as shown below. Glue them to then to the back of the tissue box.
Step 6: Cut hair out of peel and stick felt. Cut a widows peak and a square for the top of the head. Peel and stick the hair to the box.
Step 7: Use a LED light and place in the box to illuminate the face.
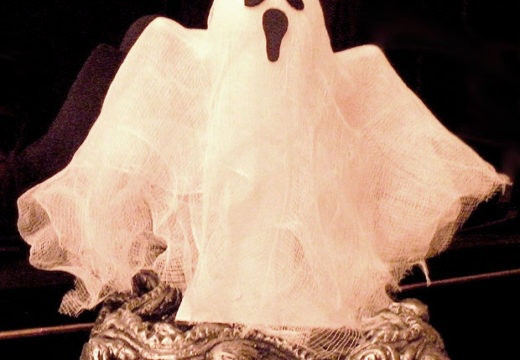
Boo Halloween Lanterns
Materials
- Tissue box
- Acrylic paint primer such as Gesso
- White acrylic paint
- Cheese Cloth or White Wispy Fabric
- LED Lights
Instructions
Step 1: Paint the tissue box with primer to cover the pattern on the tissue box.
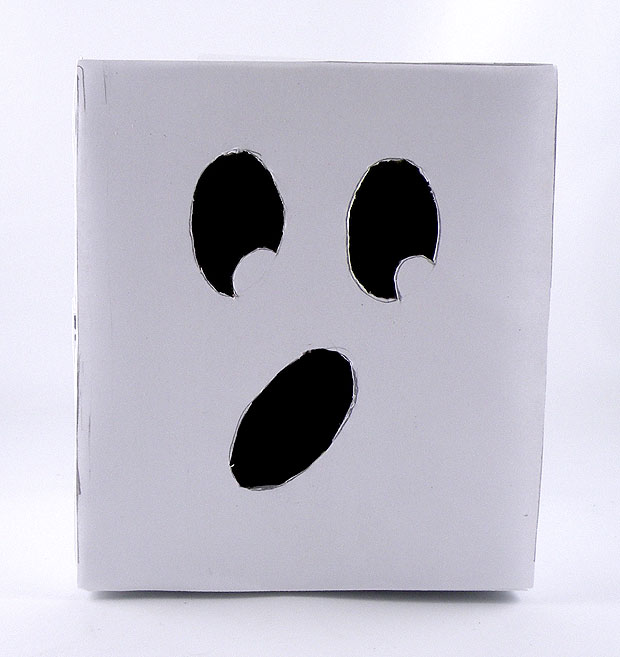
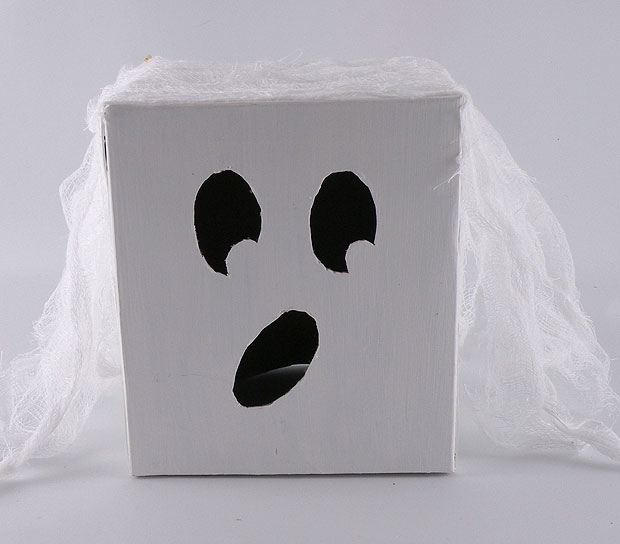
Step 2: Turn the box upside down so the opening is on the bottom of the box. Draw a ghost face with pencil on the front of the tissue box.
Step 2: Cut the face out with a pumpkin carving kit or an X-Acto knife or pumpkin carving kit.
Step 3: Paint the face with white acrylic paint. It may need 2 coats to cover evenly. Let dry.
Step 4: Glue pieces of cheesecloth to the sides of the ghost.
Step 5: Use a LED light and place in the box to illuminate the face.