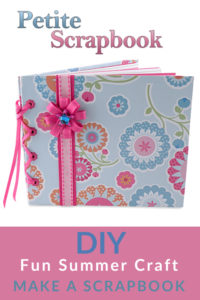
DIY Mini Scrapbook Tutorial (Step-by-Step Instructions)
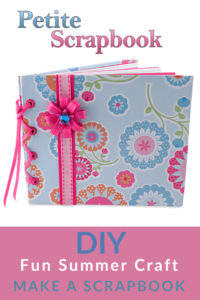

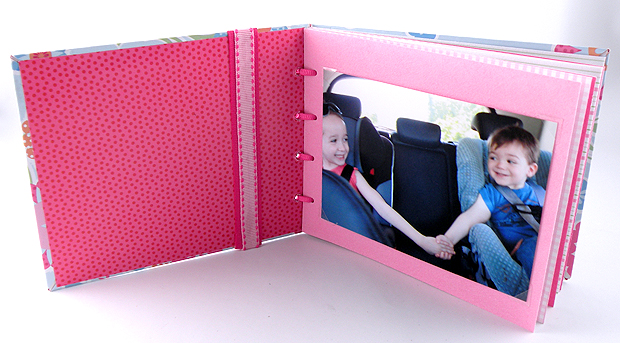
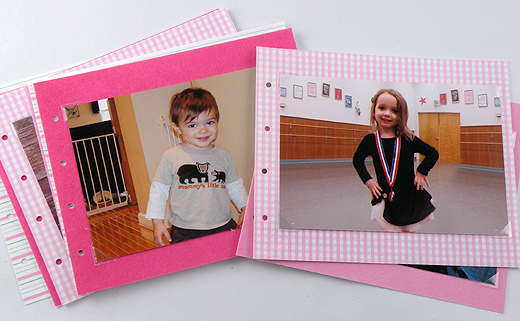
 I love the idea of this DIY Mini Scrapbook that is small enough to fit in a purse or pocket filled with your favorite photos. With our digital age, everyone views pictures with their phones and through the Internet but I guess I am just old school when it comes to photos. I still love having a beautiful mini scrapbook album of captured memories that you can actually hold and flip through.
A DIY mini scrapbook is easy to make and is a perfect gift for anyone. Customize it to coordinate with your house decor or to suit the theme of the photos. You can capture memories shared with friends or add sentimental photos for a family member. It is the ultimate coffee table book. It also makes a great gift!
Materials
- Cardstock – cut from reused shirt box or similar weight cardboard (for the front and back cover)
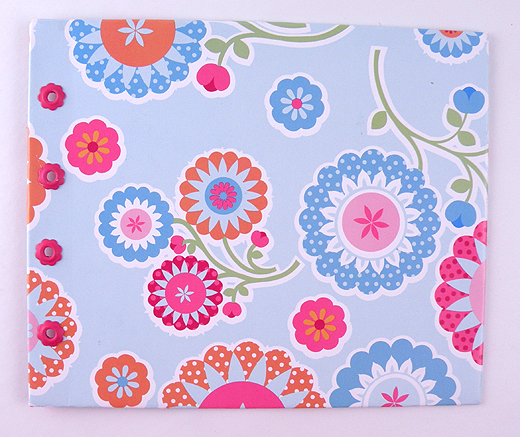
- 1 sheet 12â€x12†double-sided floral scrapbooking paper (for inside and outside covers)
- 4 pieces of coordinating styles of double-sided scrapbooking paper – cardstock weight (for the pages)
- Metal eyelets
- Hole punch
- 5/8 inch wide pink ribbon (to wrap around the front cover)
- 1/4 inch wide pink ribbon (to make the flower)
- 1/8 inch wide pink ribbon (for binding)
- 3/8 inch wide light pink ribbon (for the front cover)
- Flower rhinestones (for the center of the flower)
- Clear photo corners
- Craft glue
- Glue stick
How to Make a DIY Mini Scrapbook
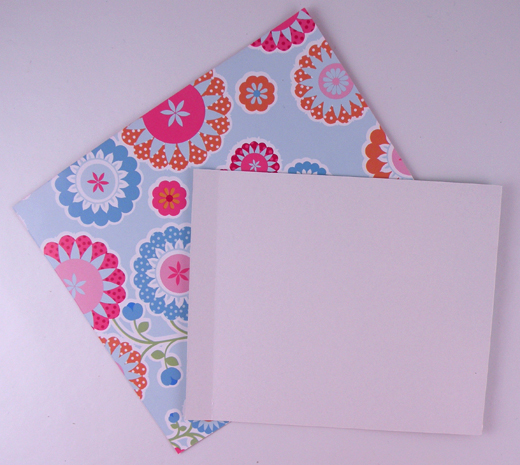
- Cut two pieces of cardstock from a shirt box 5 inches by 6 inches wide. Fold one side of each piece of the short end on the cardstock over ½ inch to create some flexibility at the binding.
- Cut a piece of scrapbooking paper slightly larger than the cardstock

- Apply glue stick to one side of the cardstock and attach, centering on the wrong side of the scrapbooking paper.
- Trim the corners off at an angle, making sure not to cut the cardstock.
- Apply glue stick to the scrapbooking paper edges and fold down. Repeat on these steps on the back cover.
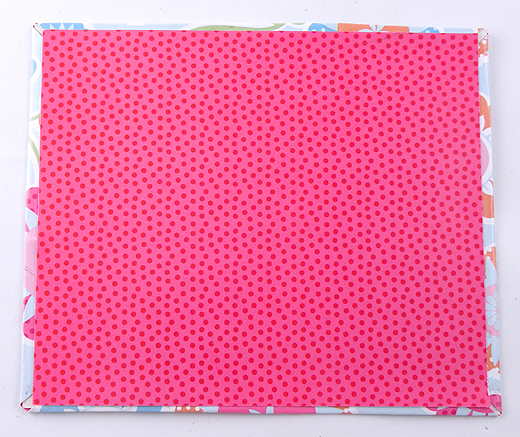
- Cut a piece of the reversible side of the scrapbooking paper slightly smaller than the cardstock. Apply glue stick to the wrong side of the scrapbooking paper and attach, centering it on the inside of the cover to give it a finished look. Repeat on the back cover.
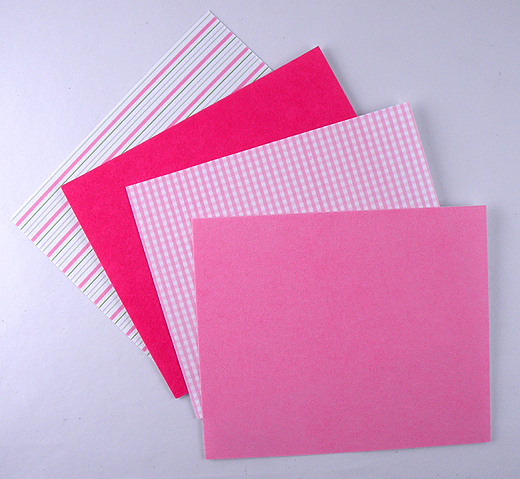
- Cut pieces of coordinating scrapbooking paper slightly smaller than the covers of the book for the inside pages.
- Punch holes on the front and back cover of the binding and attach eyelets to stabilize.
- Line up the inside pages with the holes on the front and back cover and mark the location. Punch holes with a hole punch.
- Using clear photo corners, attach the photos to the pages.
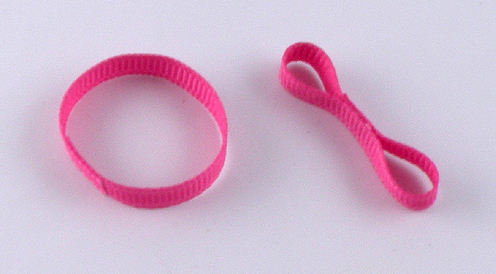
- To make the bow, cut four 3-1/2 inch pieces of ¼ inch pink ribbon. Fold the ends to middle, overlapping about 1/4 inch, and glue to form a loop.
- Apply glue to the inside center to create two loops.
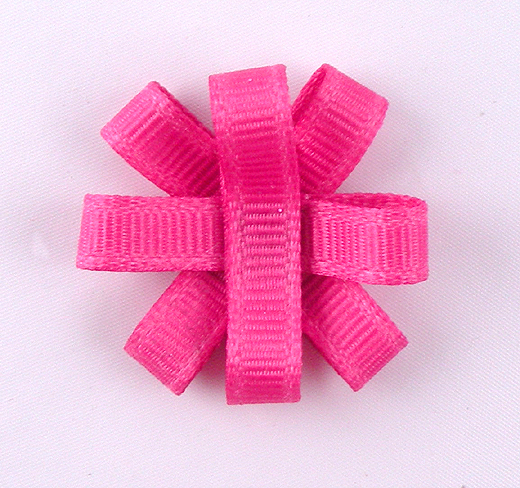
- Glue the four of the ribbon loops together, one at a time, onto the center of each other to form a flower.
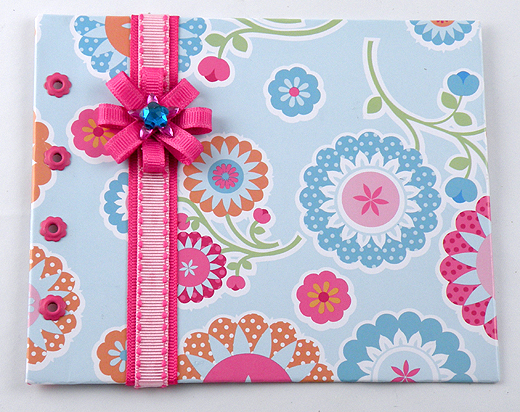
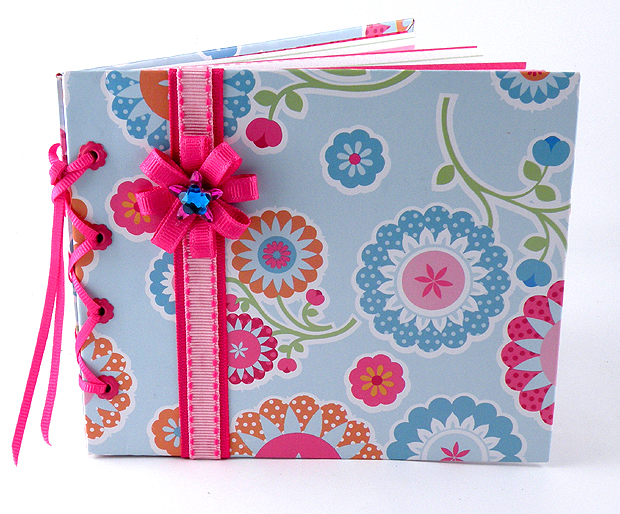
- Cut a piece of the 5/8 inch pink ribbon and the 3/8 inch light pink ribbon the length to wrap around the entire front cover of the scrapbook. Attach the 5/8 wide ribbon to the front cover about 1-1/2 inch from the left side of the binding edge. Layer the light pink ribbon over the dark pink ribbon, overlapping the ends on the inside of the cover.
- Glue the rhinestones to the center of the flower and glue the flower to the ribbon band on the front cover. Let dry.
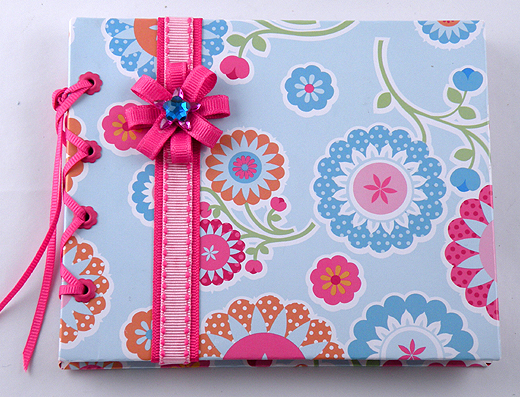
- Feed the 1/8 inch ribbon through the holes like a shoe lace and tie at the top to create the binding. Trim to matching lengths to finish your petite scrapbook.