Jack-o-Lantern Ideas
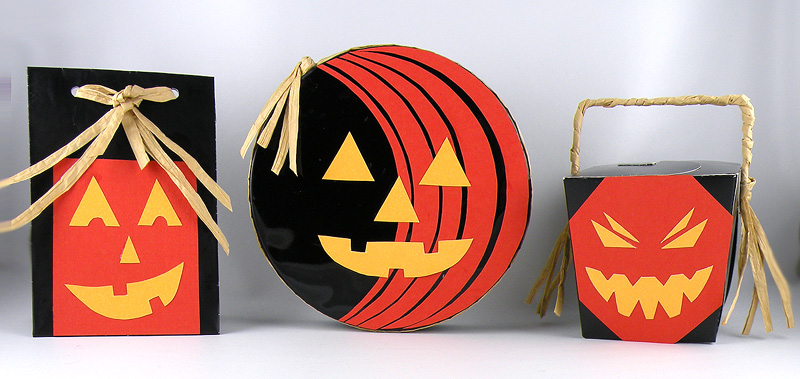
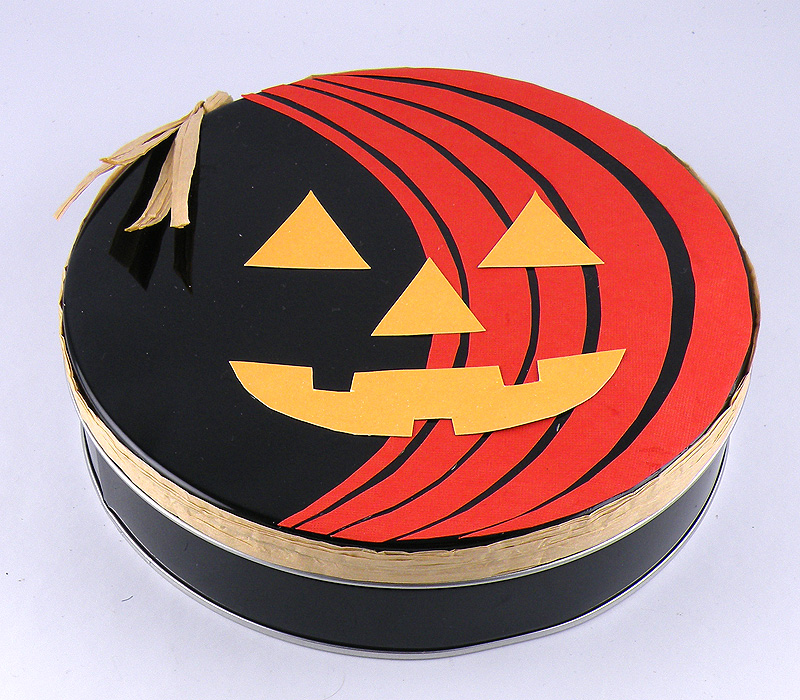
What could be more fun than Halloween treats served in a jack-o-lantern tin or takeout box? This easy to create design uses glittery yellow and burnt orange cardstock to simulate the glowing face of a carved pumpkin. This is a fun project that can be created by kids to make for teachers or friends.
Difficulty – Easy
Materials
- Medium black round tin (tins are inexpensive and easy to find at your local craft or party store)
- Burnt orange cardstock
- Glittery yellow cardstock
- Natural raffia
- Craft Glue
Instructions to make the Jack-o-Lantern Cookie Tin
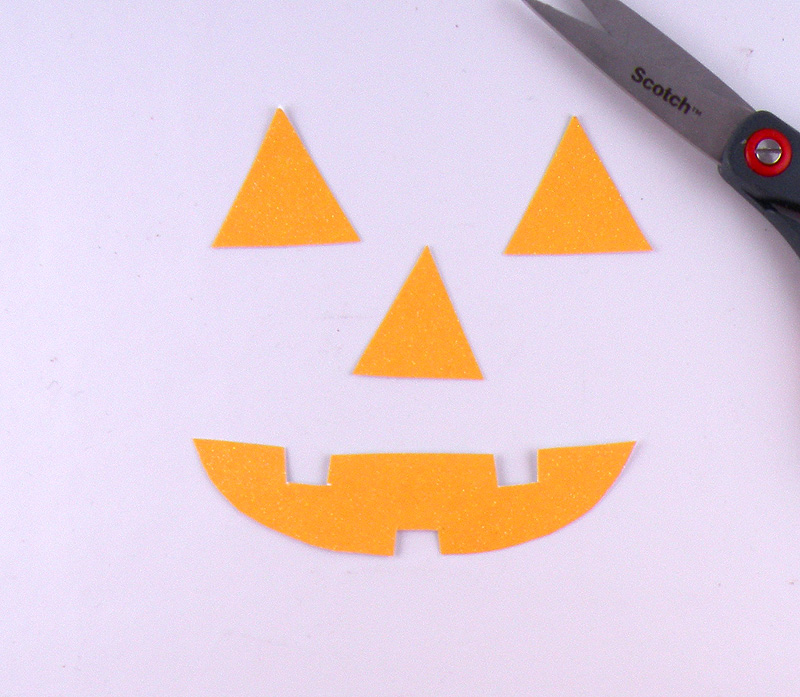
- Draw a jack-o-lantern face on the wrong side of the glittery yellow cardstock and cut out.
2. Trace the lid of the tin on the wrong side of the burnt orange cardstock. Using the lid as a guide, trace four curved bands on the inside of the traced circle and cut out the four  bands of orange cardstock.
. 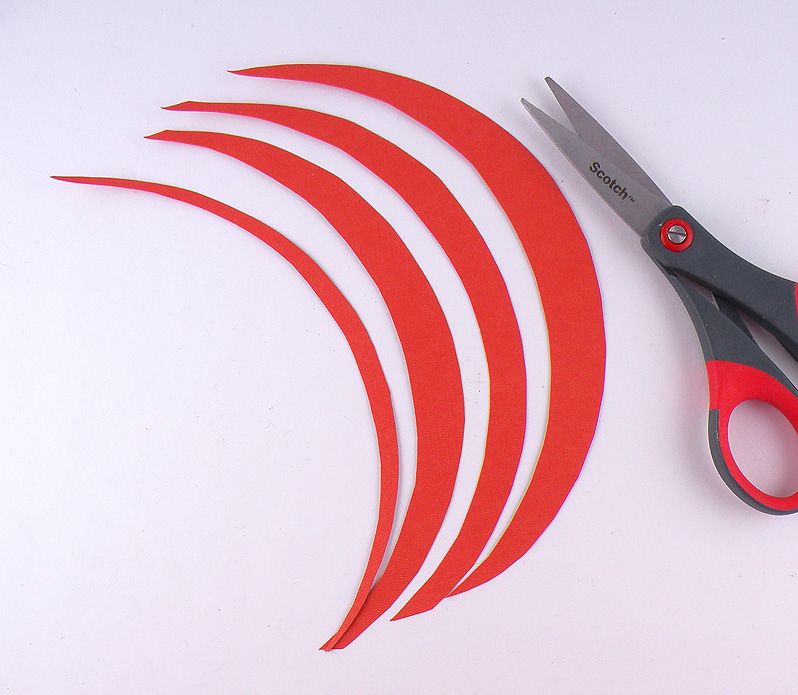
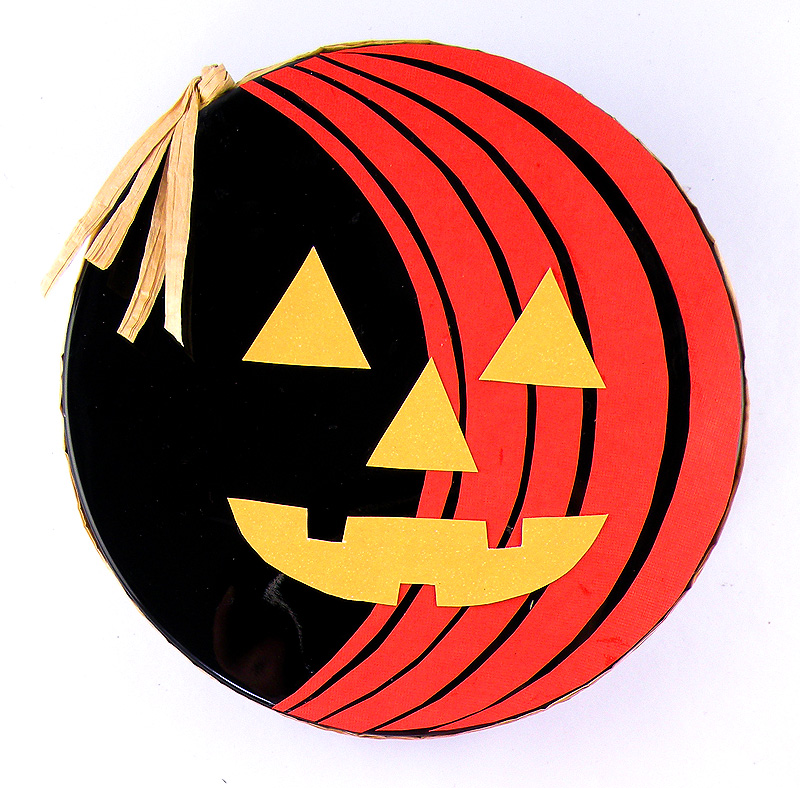
3. Using craft glue, attach them to the top of the lid as shown.

4. Apply a small amount of craft glue to the back of each of the pieces of the face and attach them to the top of the lid.

5. Cut four pieces of raffia long enough to wrap around the rim of the lid plus 10 inches.
6. Apply small amounts of craft glue around the side edges of the lid. Wrap the two pieces of raffia around the rim, leaving five inches of the tails free on each end.
7. Tie the tails together to form a knot. Trim the tails to the desired length and bend them up so they drape over the top of the lid.
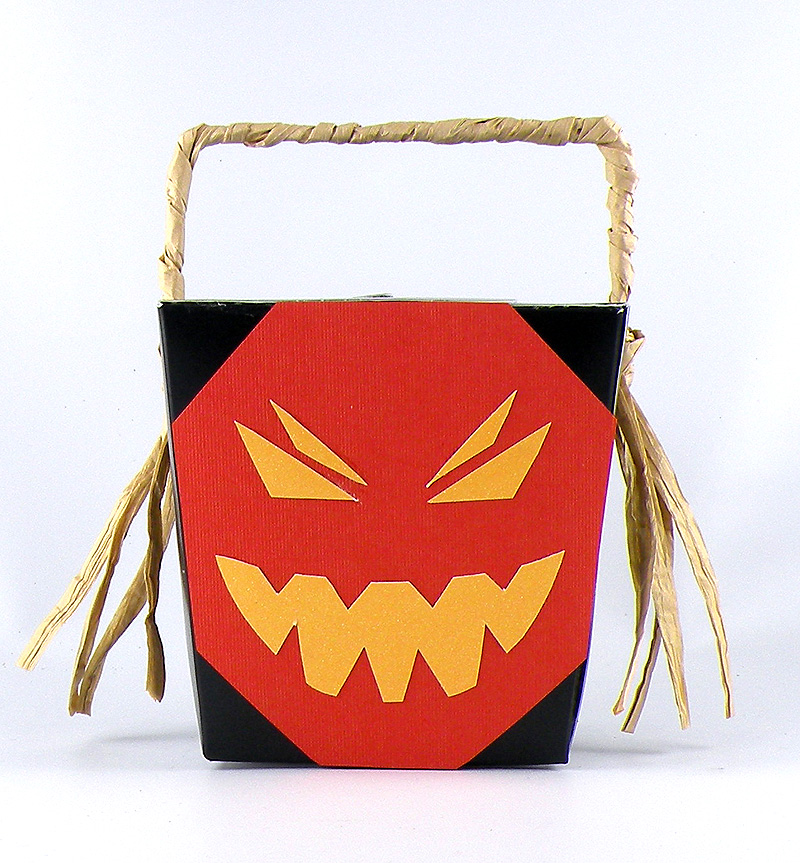
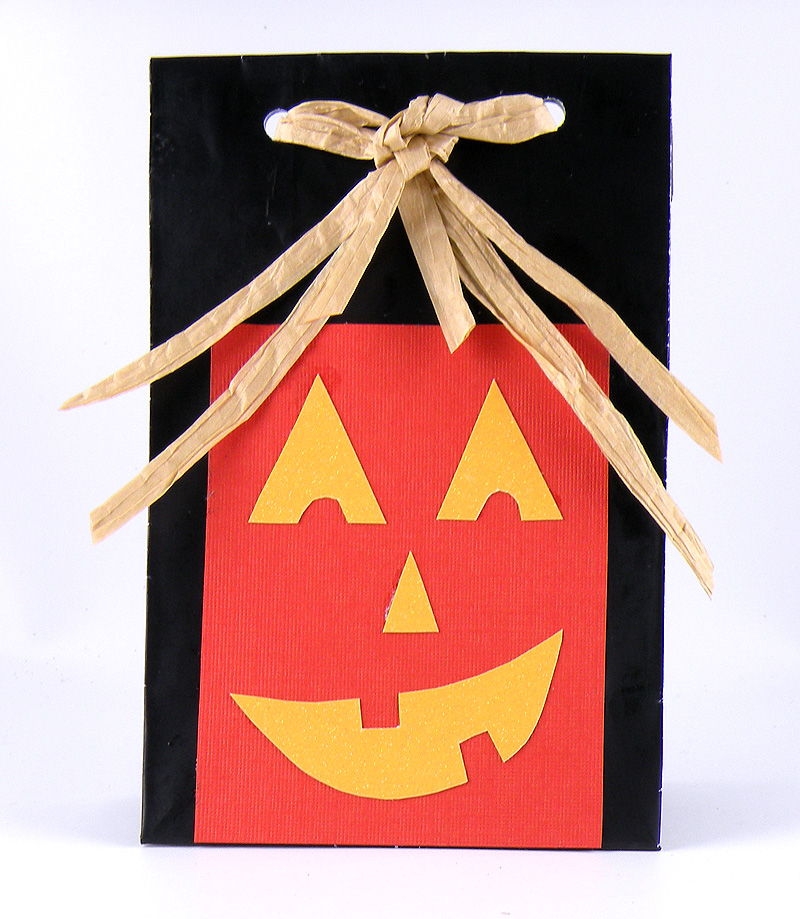
Use the same technique to create a fun, Jack-o-lantern take out box and candy bag!