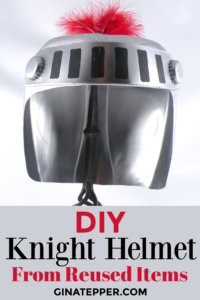
DIY Knight Helmet – How to Create a Knight Helmet (From a Milk Jug)

Here is a knight helmet I created for a children’s birthday party, Halloween costume or just a fun medieval decoration. I have so much fun creating themed crafts and decorations using reused and inexpensive items. This Knight Helmet was made from all reused materials. It is actually pretty easy to make and only took me about and hour. Medieval decorations are so cool and there are so many different designs you can transport your party into the Middle Ages. This party theme would not only be great for kids but also would make a fun adult theme party!
I showed how to make it on my Knight and Princess Birthday Party TV segment. Instructions for the Knight Helmet as listed below.
Materials used to make the Knight Helmet
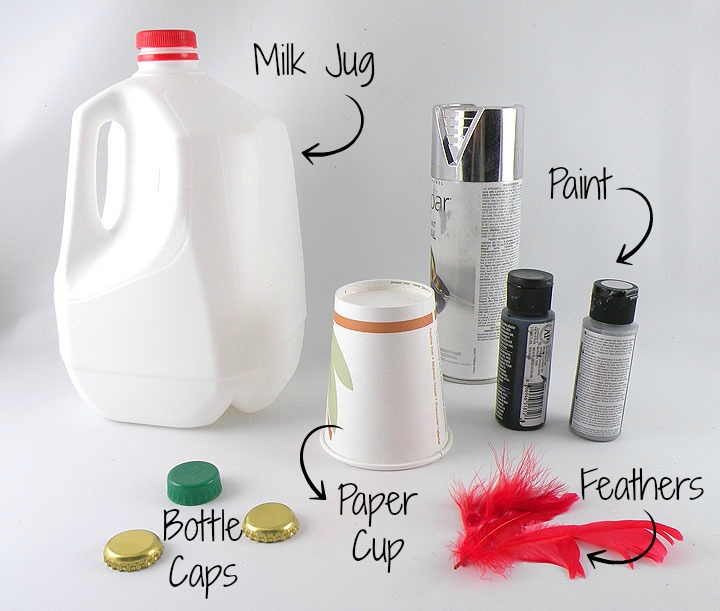
- Milk Jug (clean and dry)
- Paper Cup
- 2 MetalBottle Caps
- 1 Plastic bottle Cap
- Red Feathers
- Silver Paint (Spray Paint or Multi-Surface Acrylic Paint)
- Black Multi-Surface Acrylic Paint
- Hot Glue Gun
- Craft Glue
Instructions to make the Knight Helmet
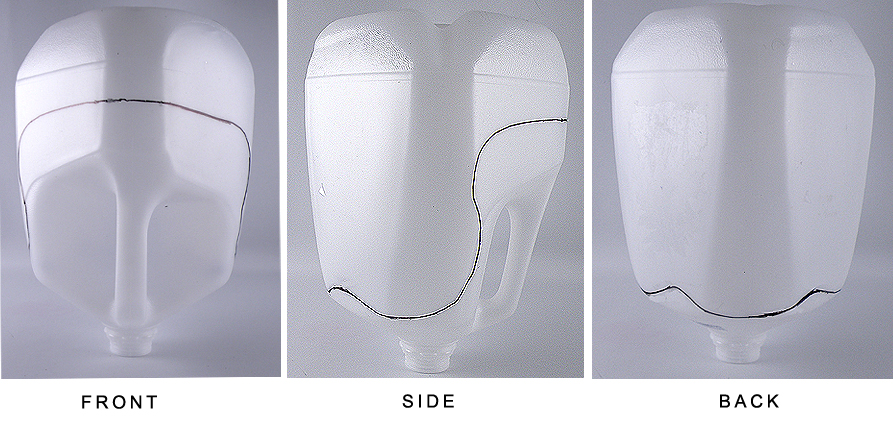 Draw the shape of the knight helmet as shown above. It doesn’t have to be perfect. It will look amazing once you add all the details.
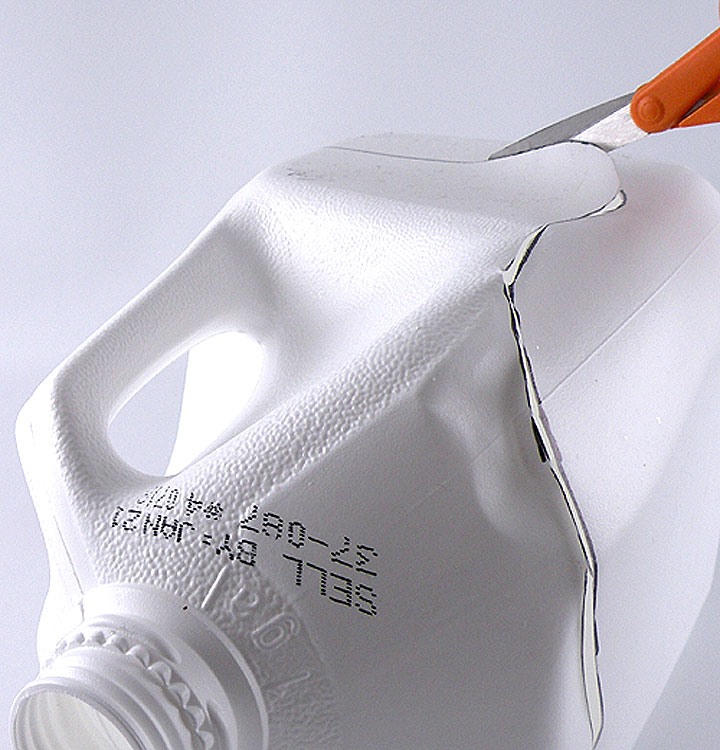
Cut out the Knight Helmet shape with scissors.

Paint both the inside and outside with silver paint and let dry.
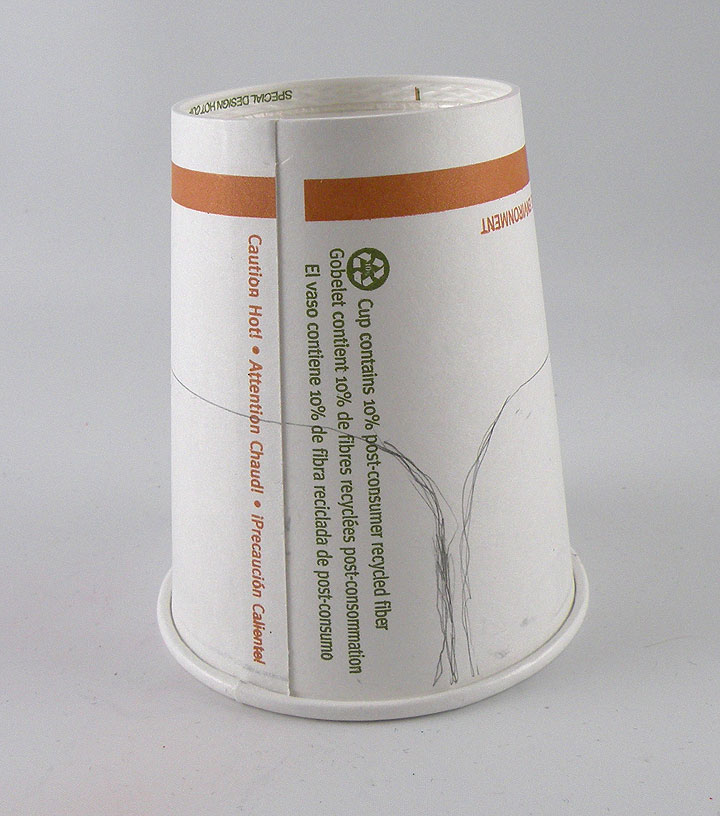
Dray the shape of the visor on a paper cup.
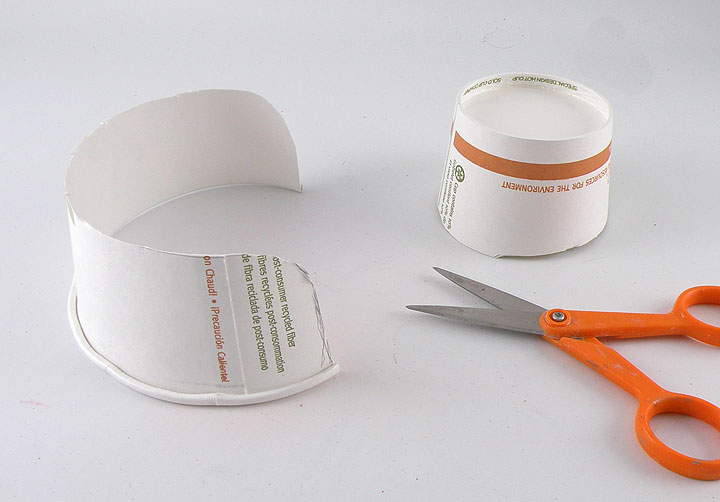
Cut out the visor and stretch it out so it is still curved but less like a cup.
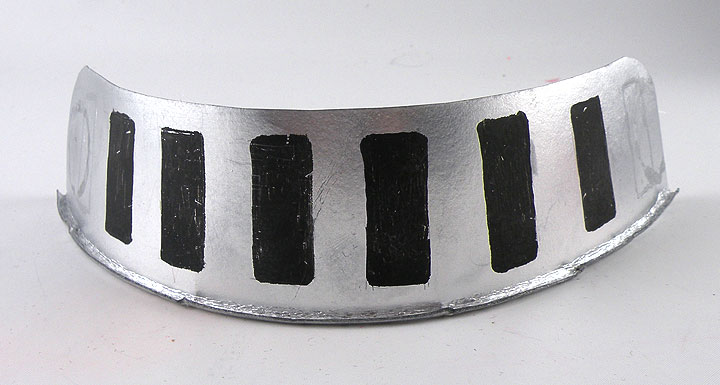 Paint the visor silver and let dry. Paint black rectangular shapes on the front as shown above.
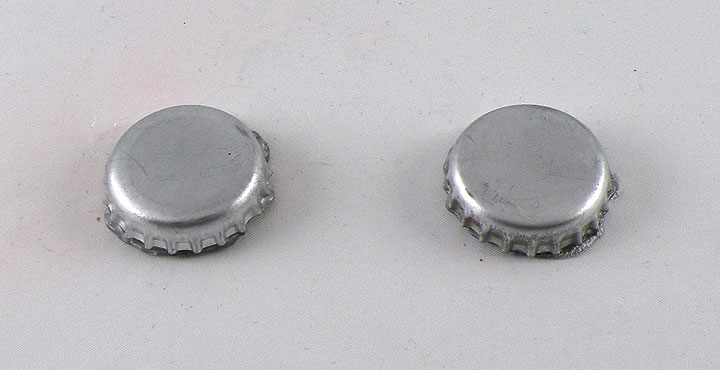 Paint the bottle caps silver and let dry.
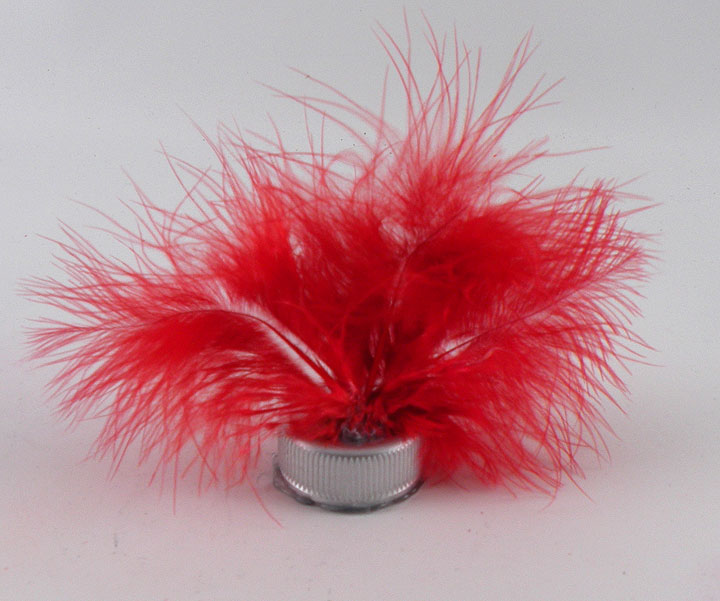
Glue red feathers to the top of the plastic bottle cap.
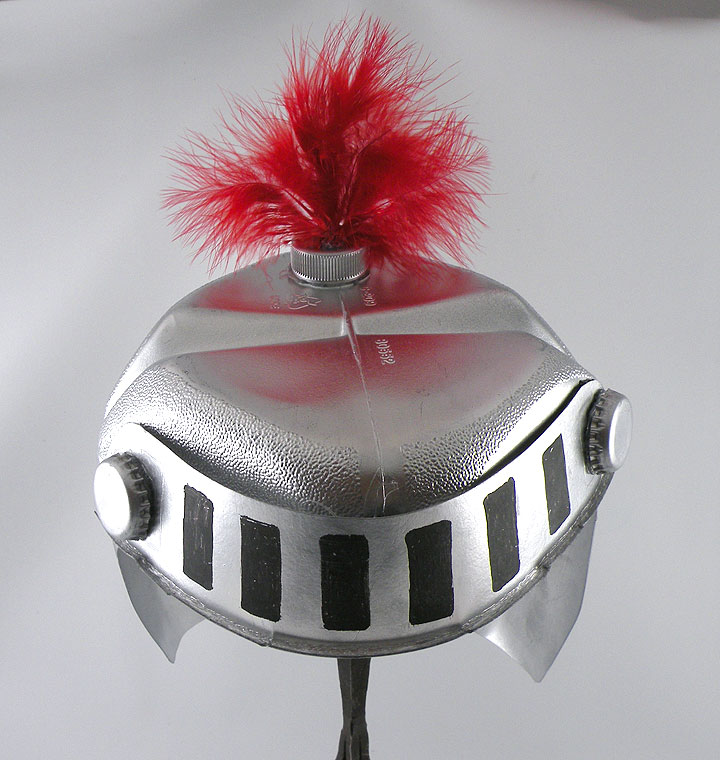
Using the hot glue gun or craft glue, attach all of the accents to the helmet as show above to finish your midieval masterpiece!